1. 앱 서명하기
keytool -genkey -v -keystore ~/key.jks -keyalg RSA -keysize 2048 -validity 10000 -alias key
잘 생성되었다.
2. 앱으로부터 keystore 참조하기
배포용 앱을 빌드할 때 참조하기 위해 프로젝트의 android/ 폴더에 key.properties 파일을 생성한 후 다음과 같이 작성한다.
storePassword=<키생성시 입력한 암호>
keyPassword=<키생성시 입력한 암호>
keyAlias=key
storeFile=<키파일의 경로와 파일명>
3. build.gradle android 상단에 붙여넣기
// start of Gradle 서명 구성
def keystoreProperties = new Properties()
def keystorePropertiesFile = rootProject.file('key.properties')
if (keystorePropertiesFile.exists()) {
    keystoreProperties.load(new FileInputStream(keystorePropertiesFile))
}
// end of Gradle 서명 구성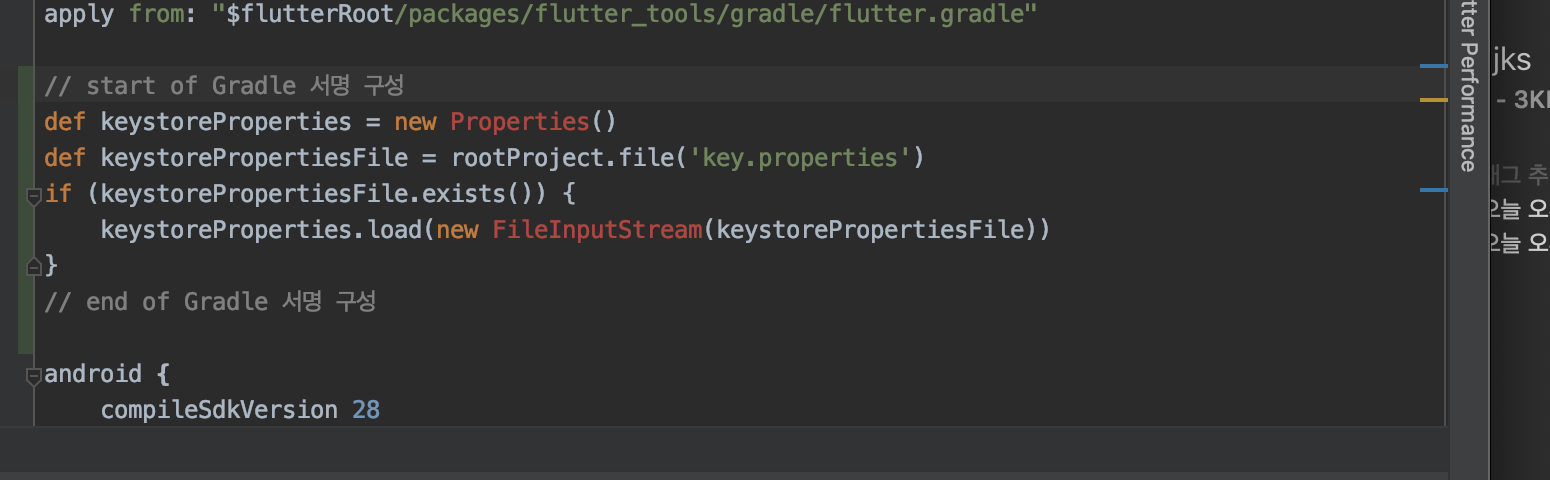
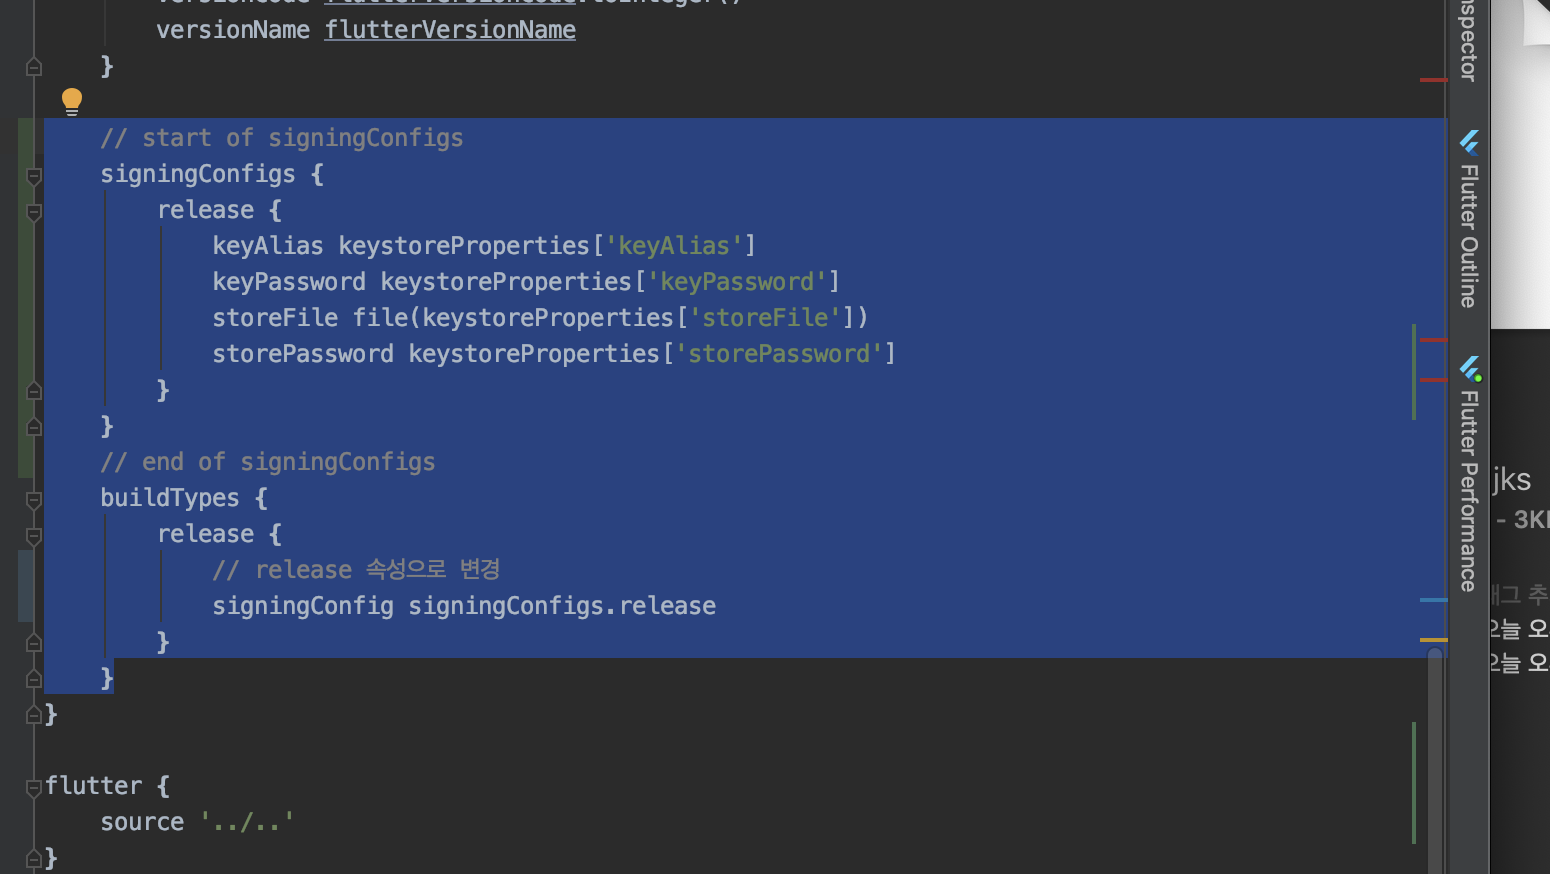
4. build.gradle android 안에 해당내용 넣기
// start of signingConfigs
    signingConfigs {
        release {
            keyAlias keystoreProperties['keyAlias']
            keyPassword keystoreProperties['keyPassword']
            storeFile file(keystoreProperties['storeFile'])
            storePassword keystoreProperties['storePassword']
        }
    }
    // end of signingConfigs
    buildTypes {
        release {
            // release 속성으로 변경
            signingConfig signingConfigs.release
        }
    }
5. proguard 만들어서 내용 넣기 : 배포할 앱의 소스코드를 난독화하는 설정
android/app 하위에 produard-rules.pro 만들고 내용 삽입
## Flutter wrapper
-keep class io.flutter.app.** { *; }
-keep class io.flutter.plugin.**  { *; }
-keep class io.flutter.util.**  { *; }
-keep class io.flutter.view.**  { *; }
-keep class io.flutter.**  { *; }
-keep class io.flutter.plugins.**  { *; }
-dontwarn io.flutter.embedding.**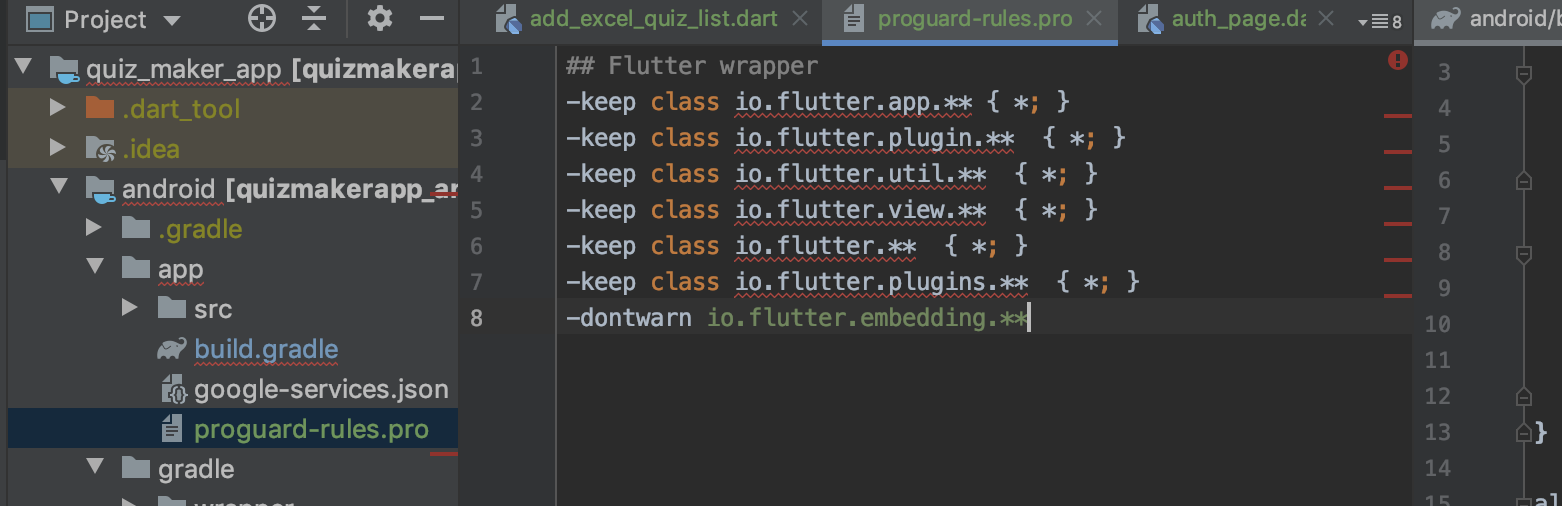
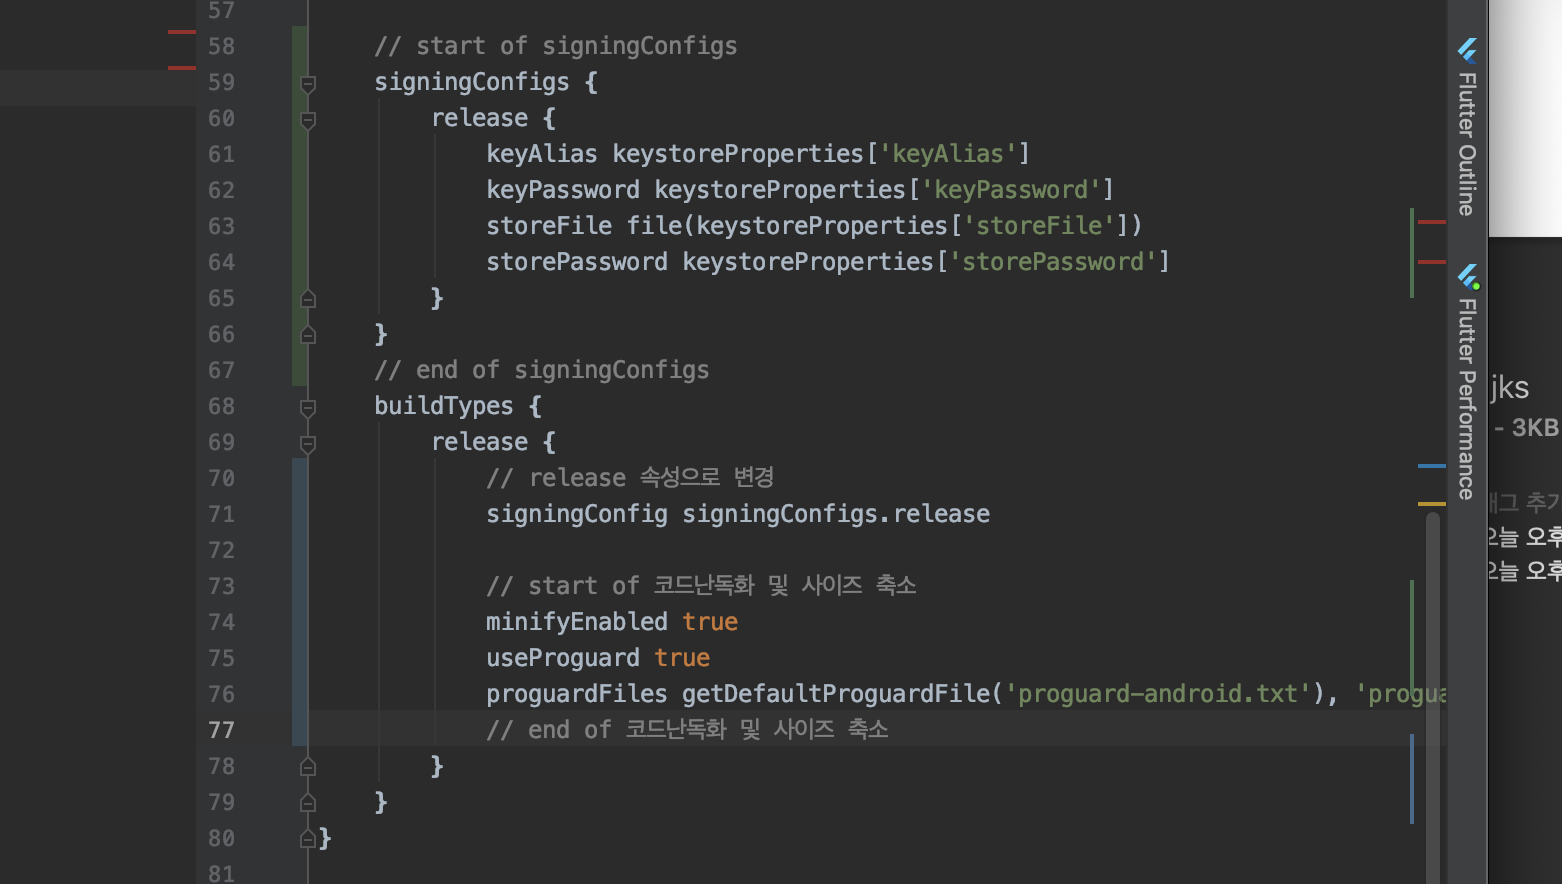
6. build.gradle에 proguard 내용도 추가해주자
 // start of 코드난독화 및 사이즈 축소
 minifyEnabled true
 useProguard true
 proguardFiles getDefaultProguardFile('proguard-android.txt'), 'proguard-rules.pro'
 // end of 코드난독화 및 사이즈 축소
7. 빌드 구성 검토하기 : 버전 확인
8. 앱 번들 빌드 : flutter build appbundle

9. apk 빌드 : flutter build apk --split-per-abi

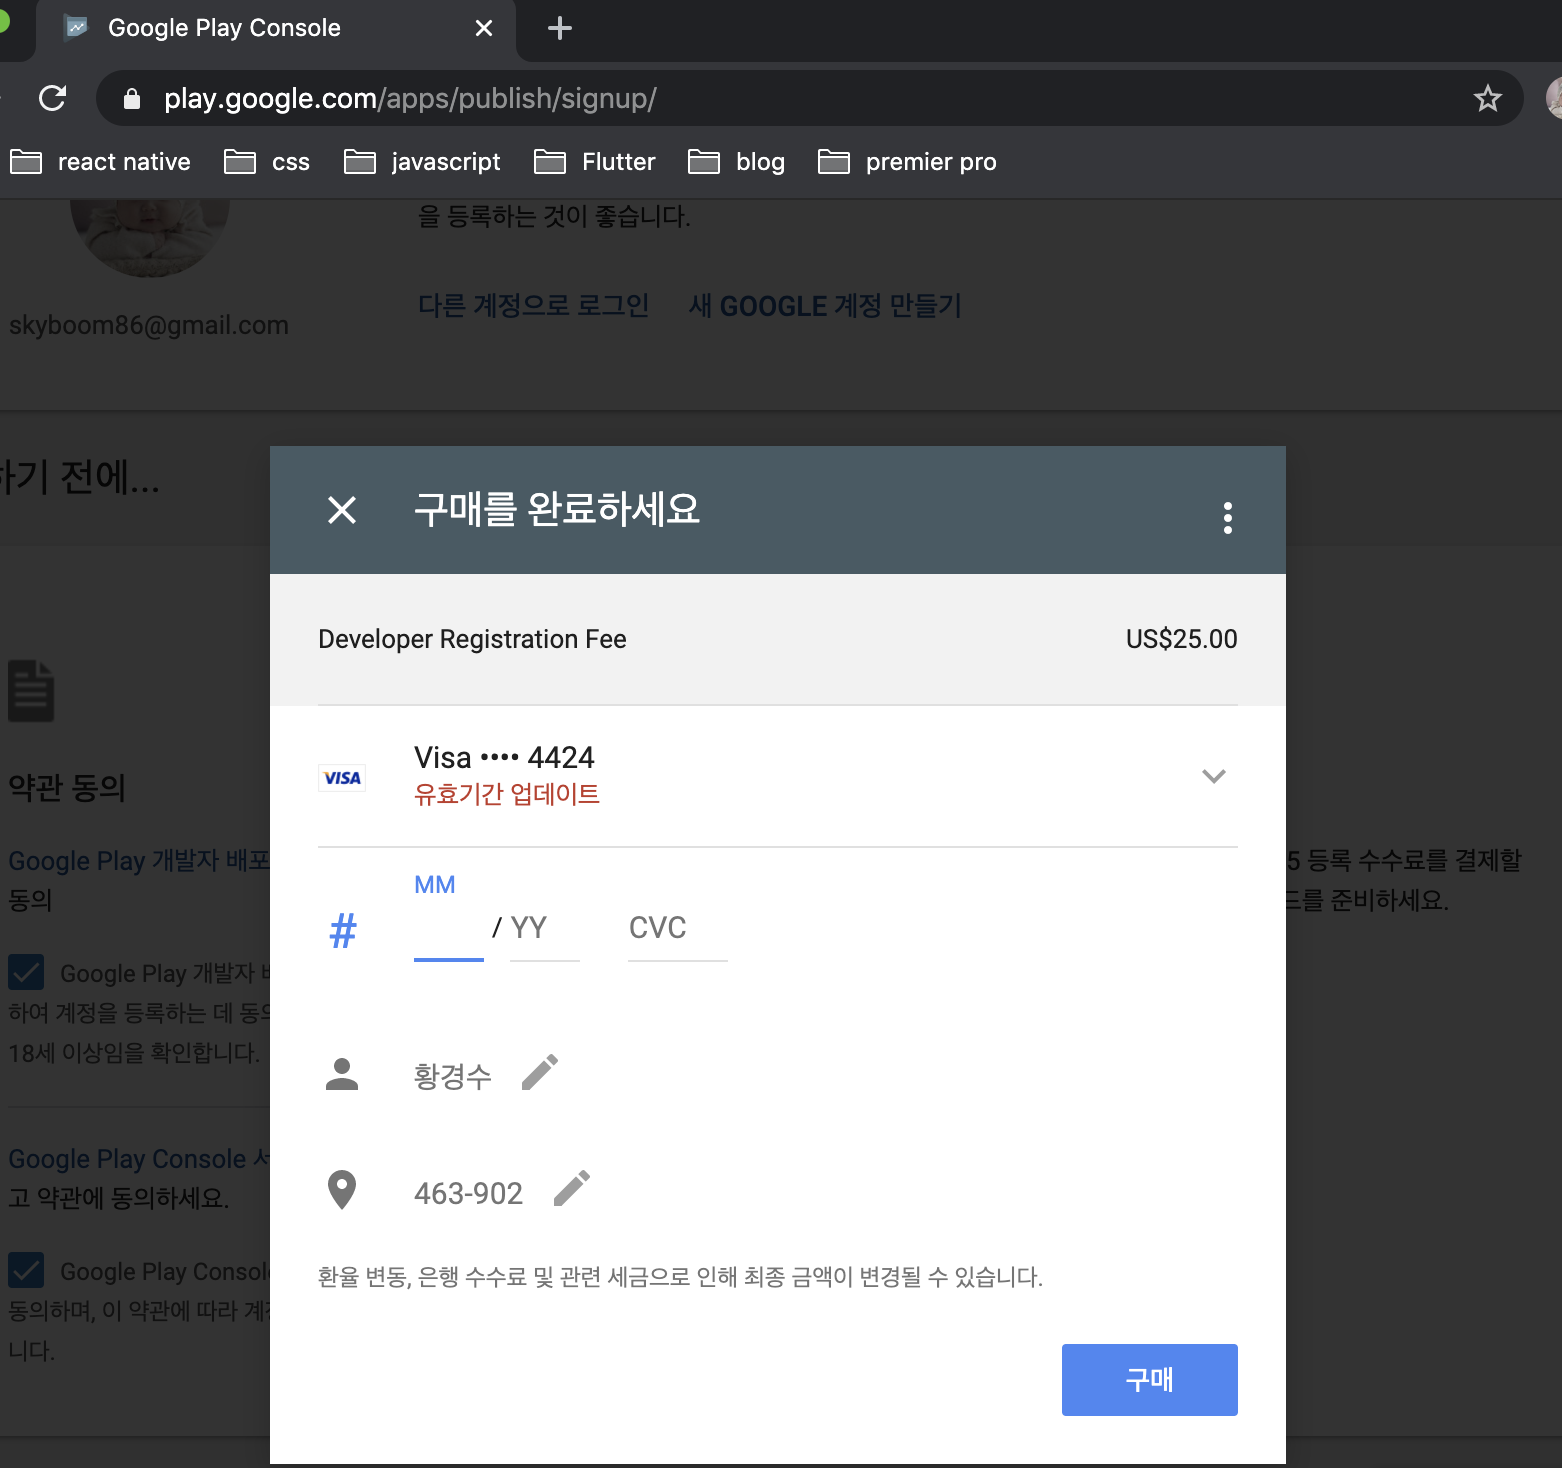
10. 개발자 등록하기 : 구글콘솔 이동 후 결제
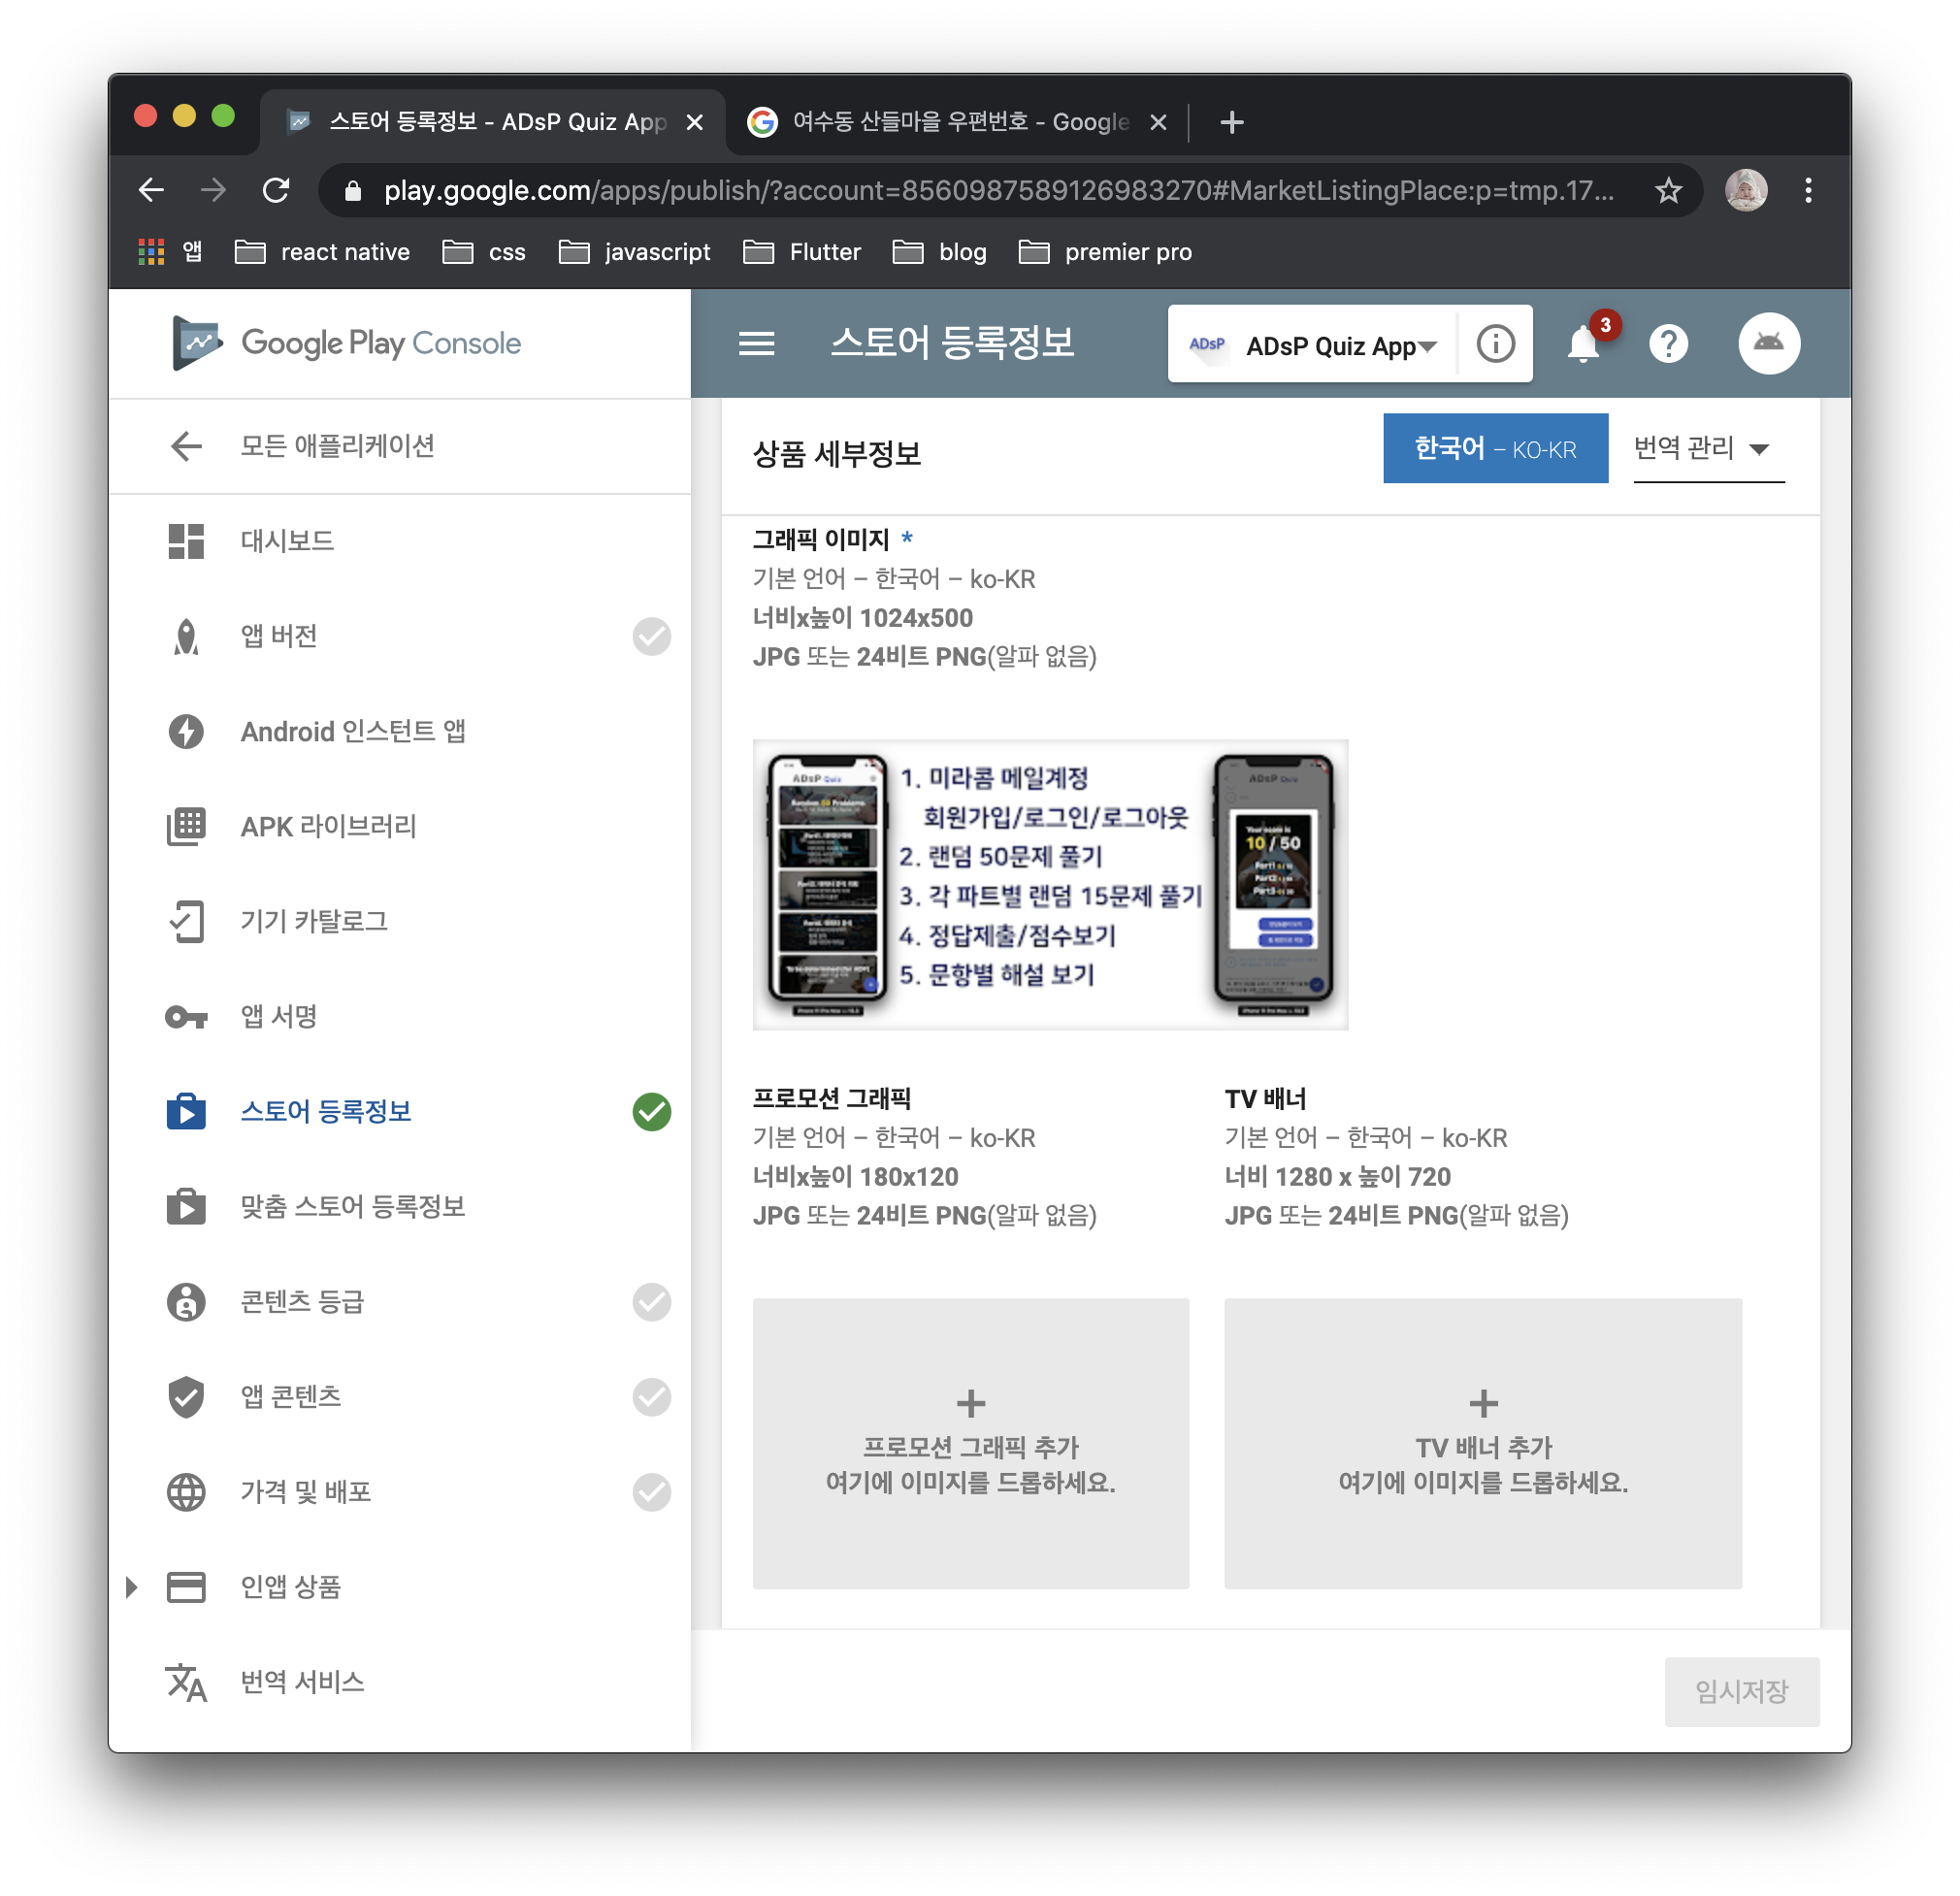
11. 콘솔 이동 후 어플리케이션 만들기에 들어가면 많은 정보들을 넣어야 한다
그 중 첫번째 스토어 등록정보에서 이것저것 넣자

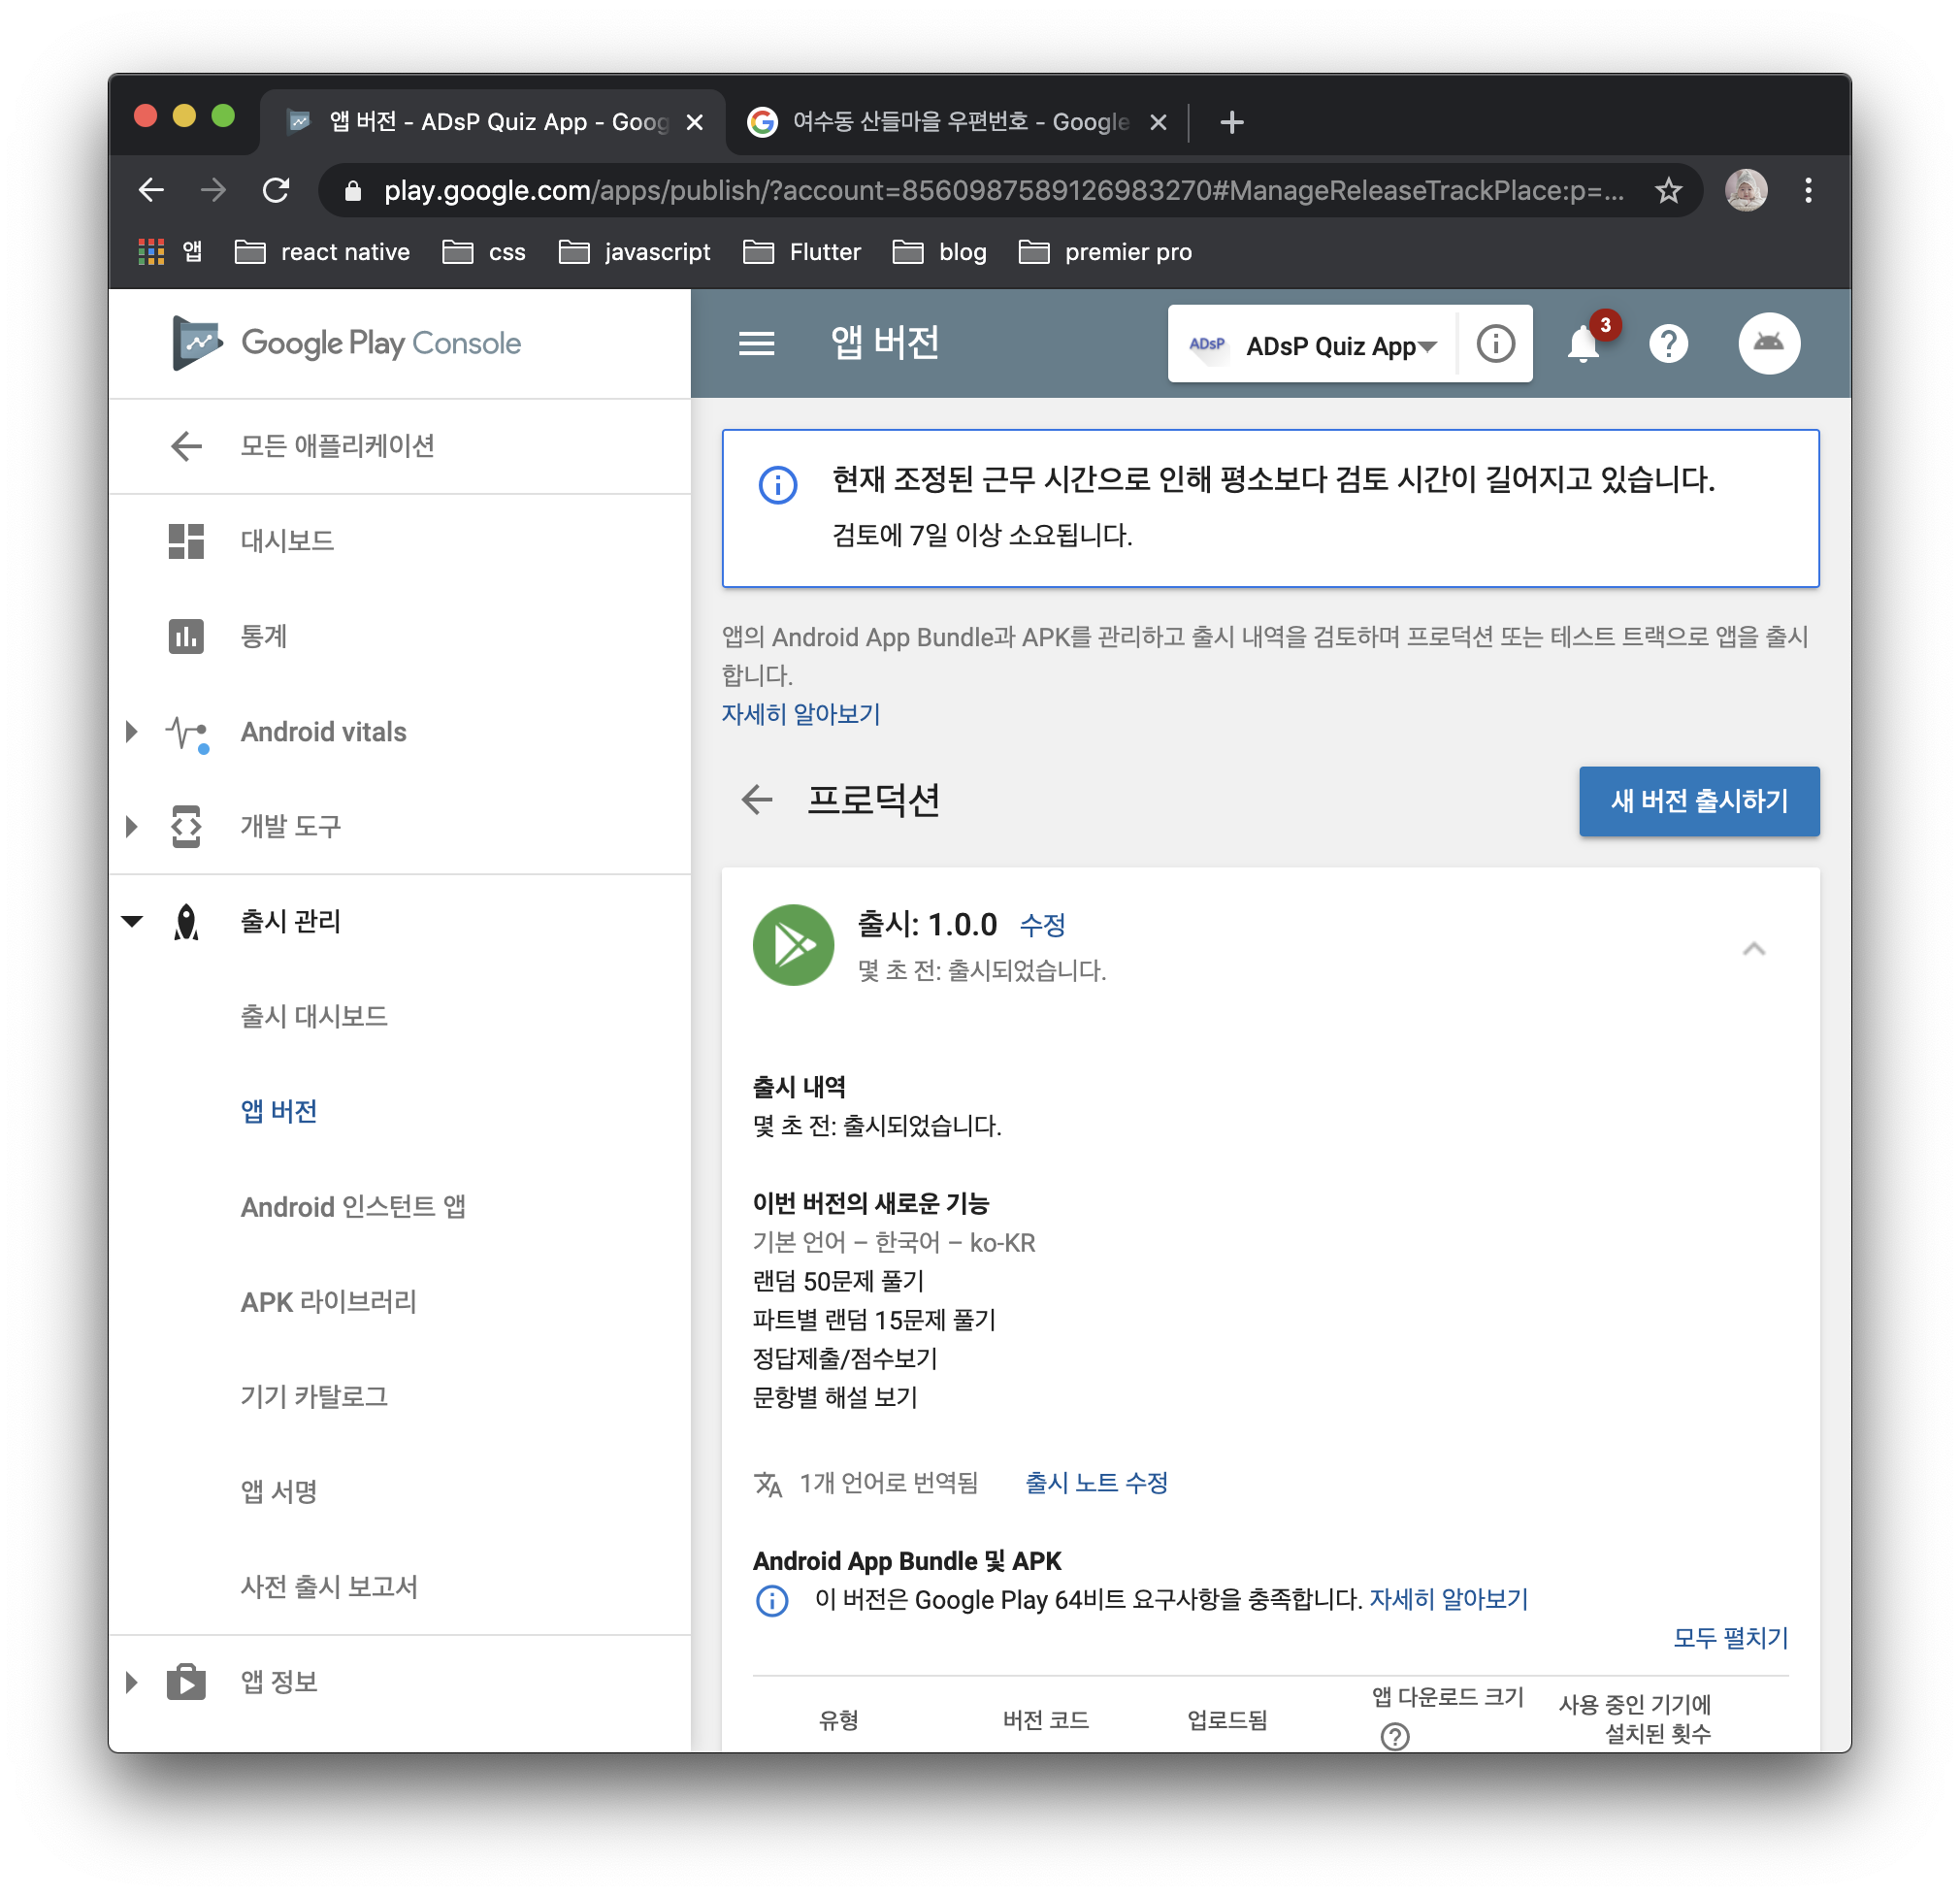
12. 앱 버전으로 이동해서 프로덕션 트랙 - 프로덕션 관리 : 새버전 출시하기 클릭

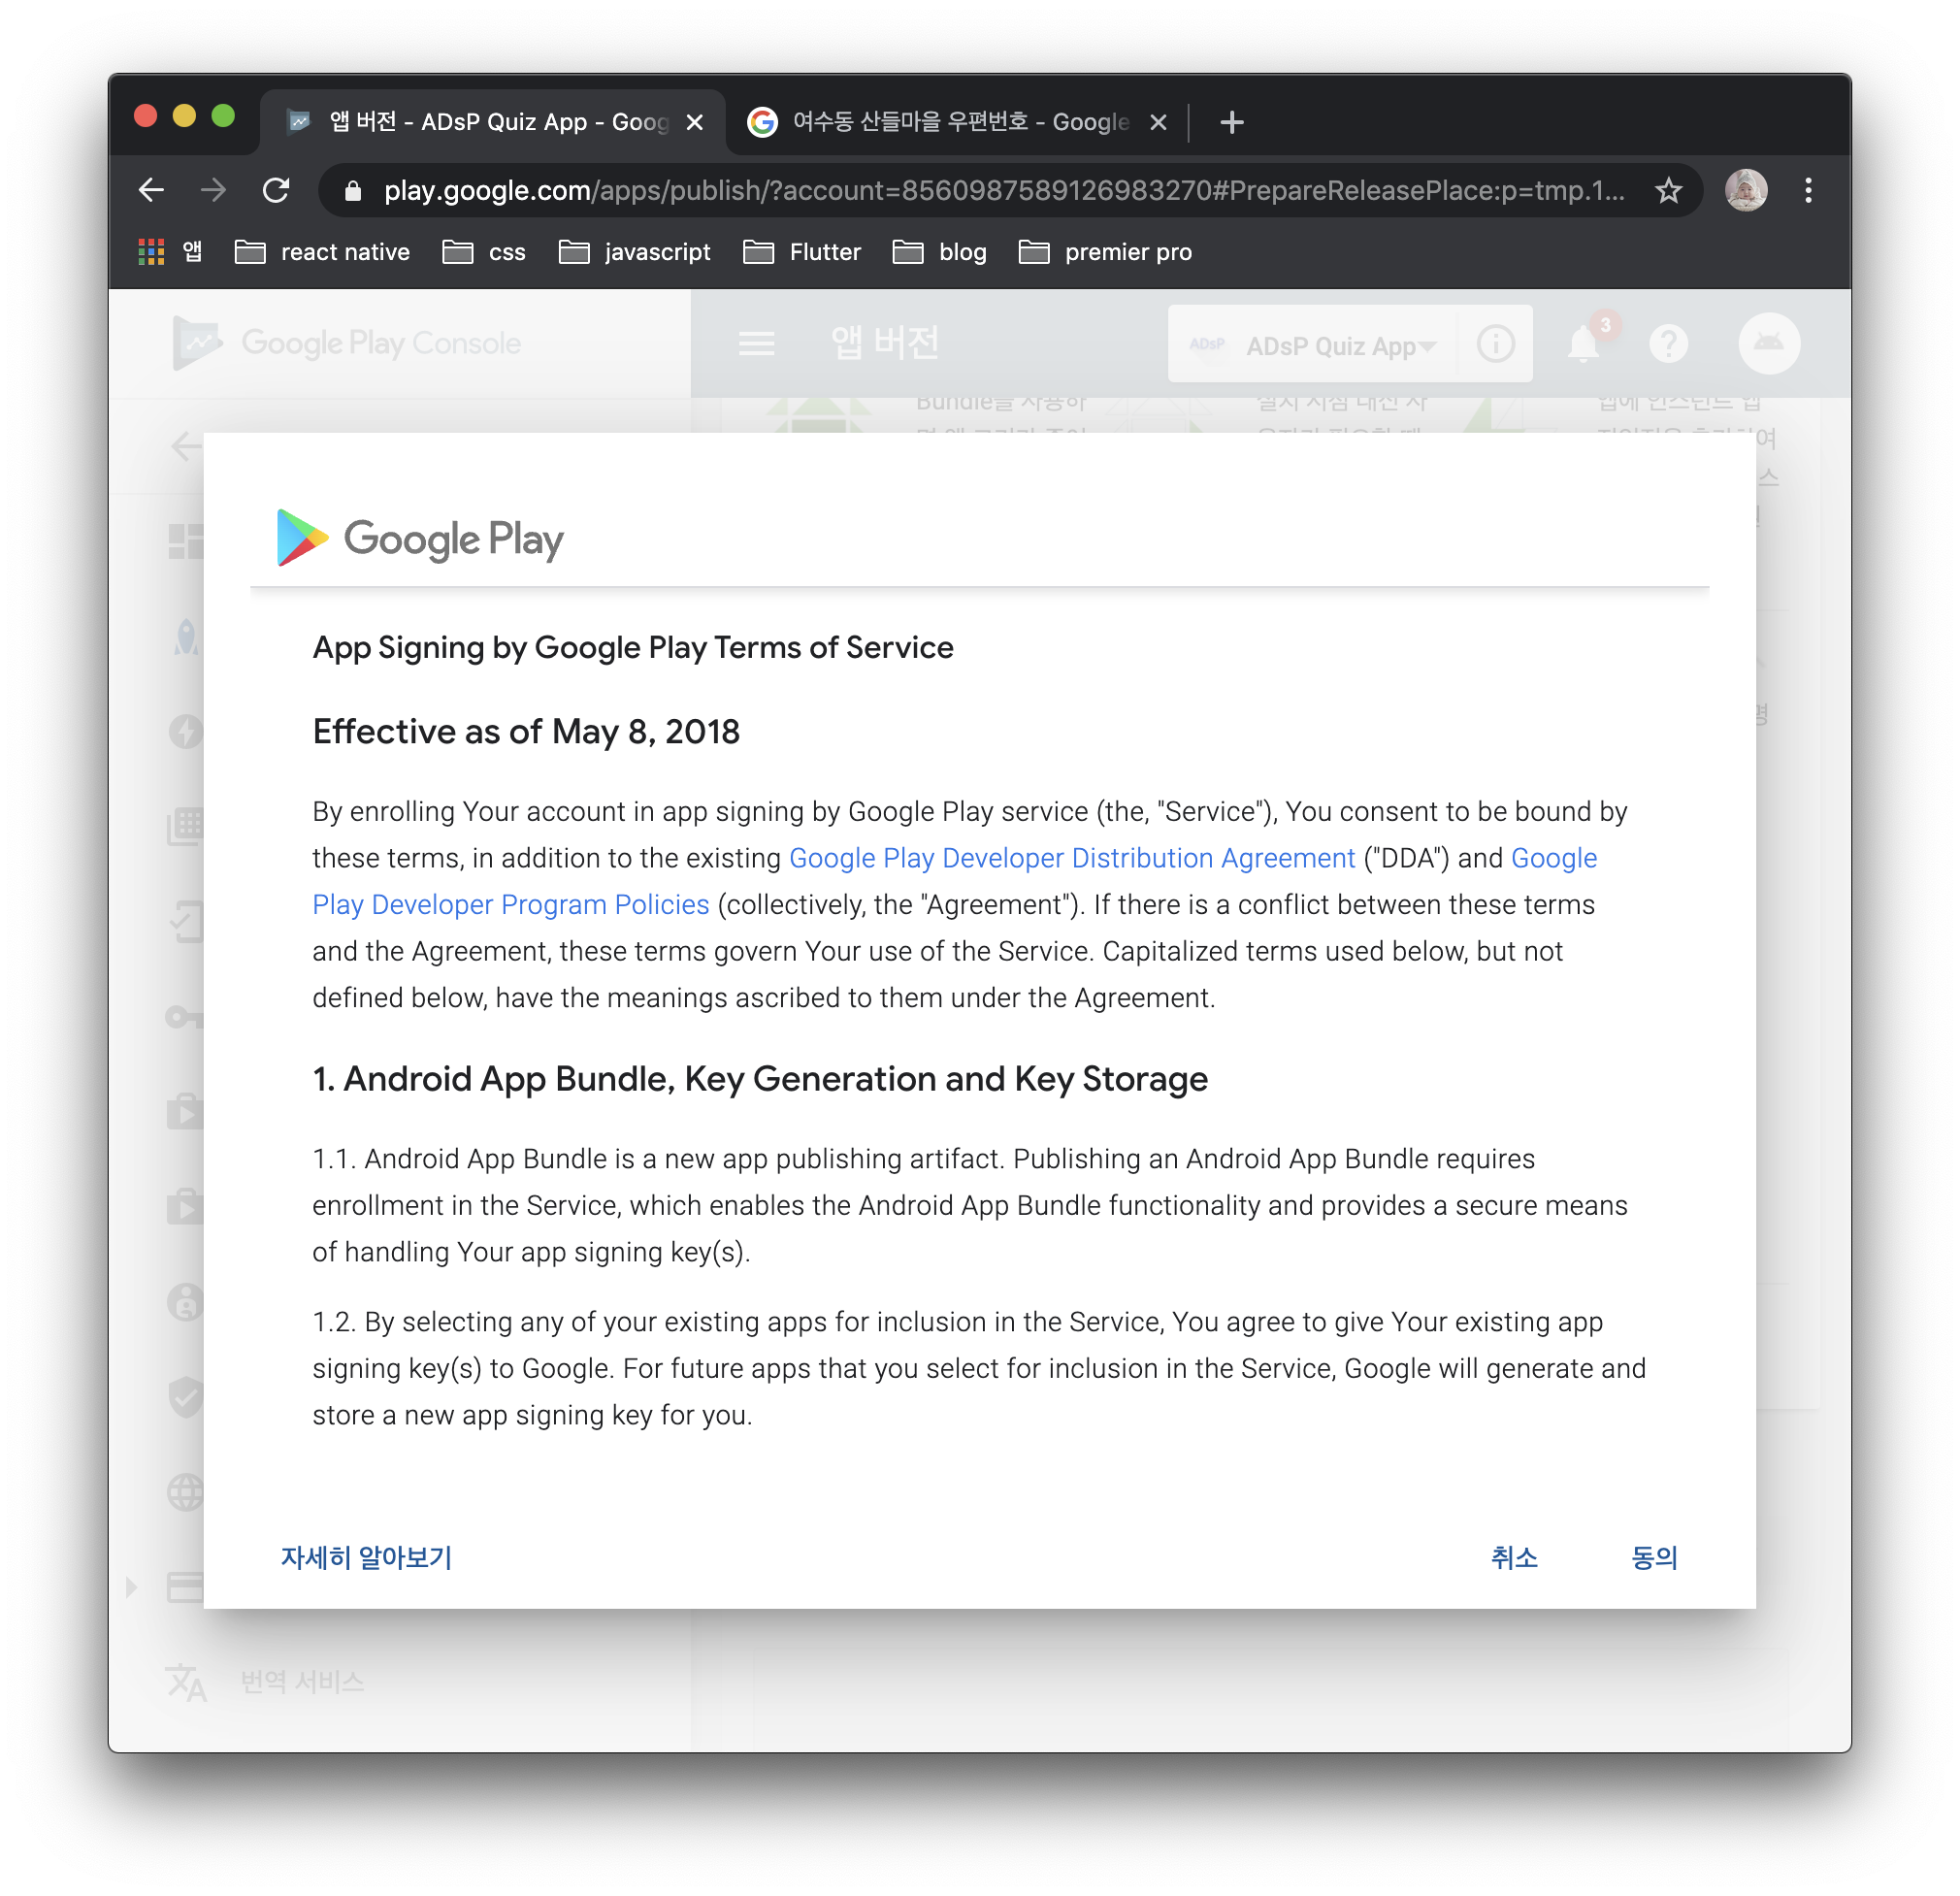
13. 앱 서명 키 만들고 관리 체크되어 있을건데 계속버튼으로 넘어가자

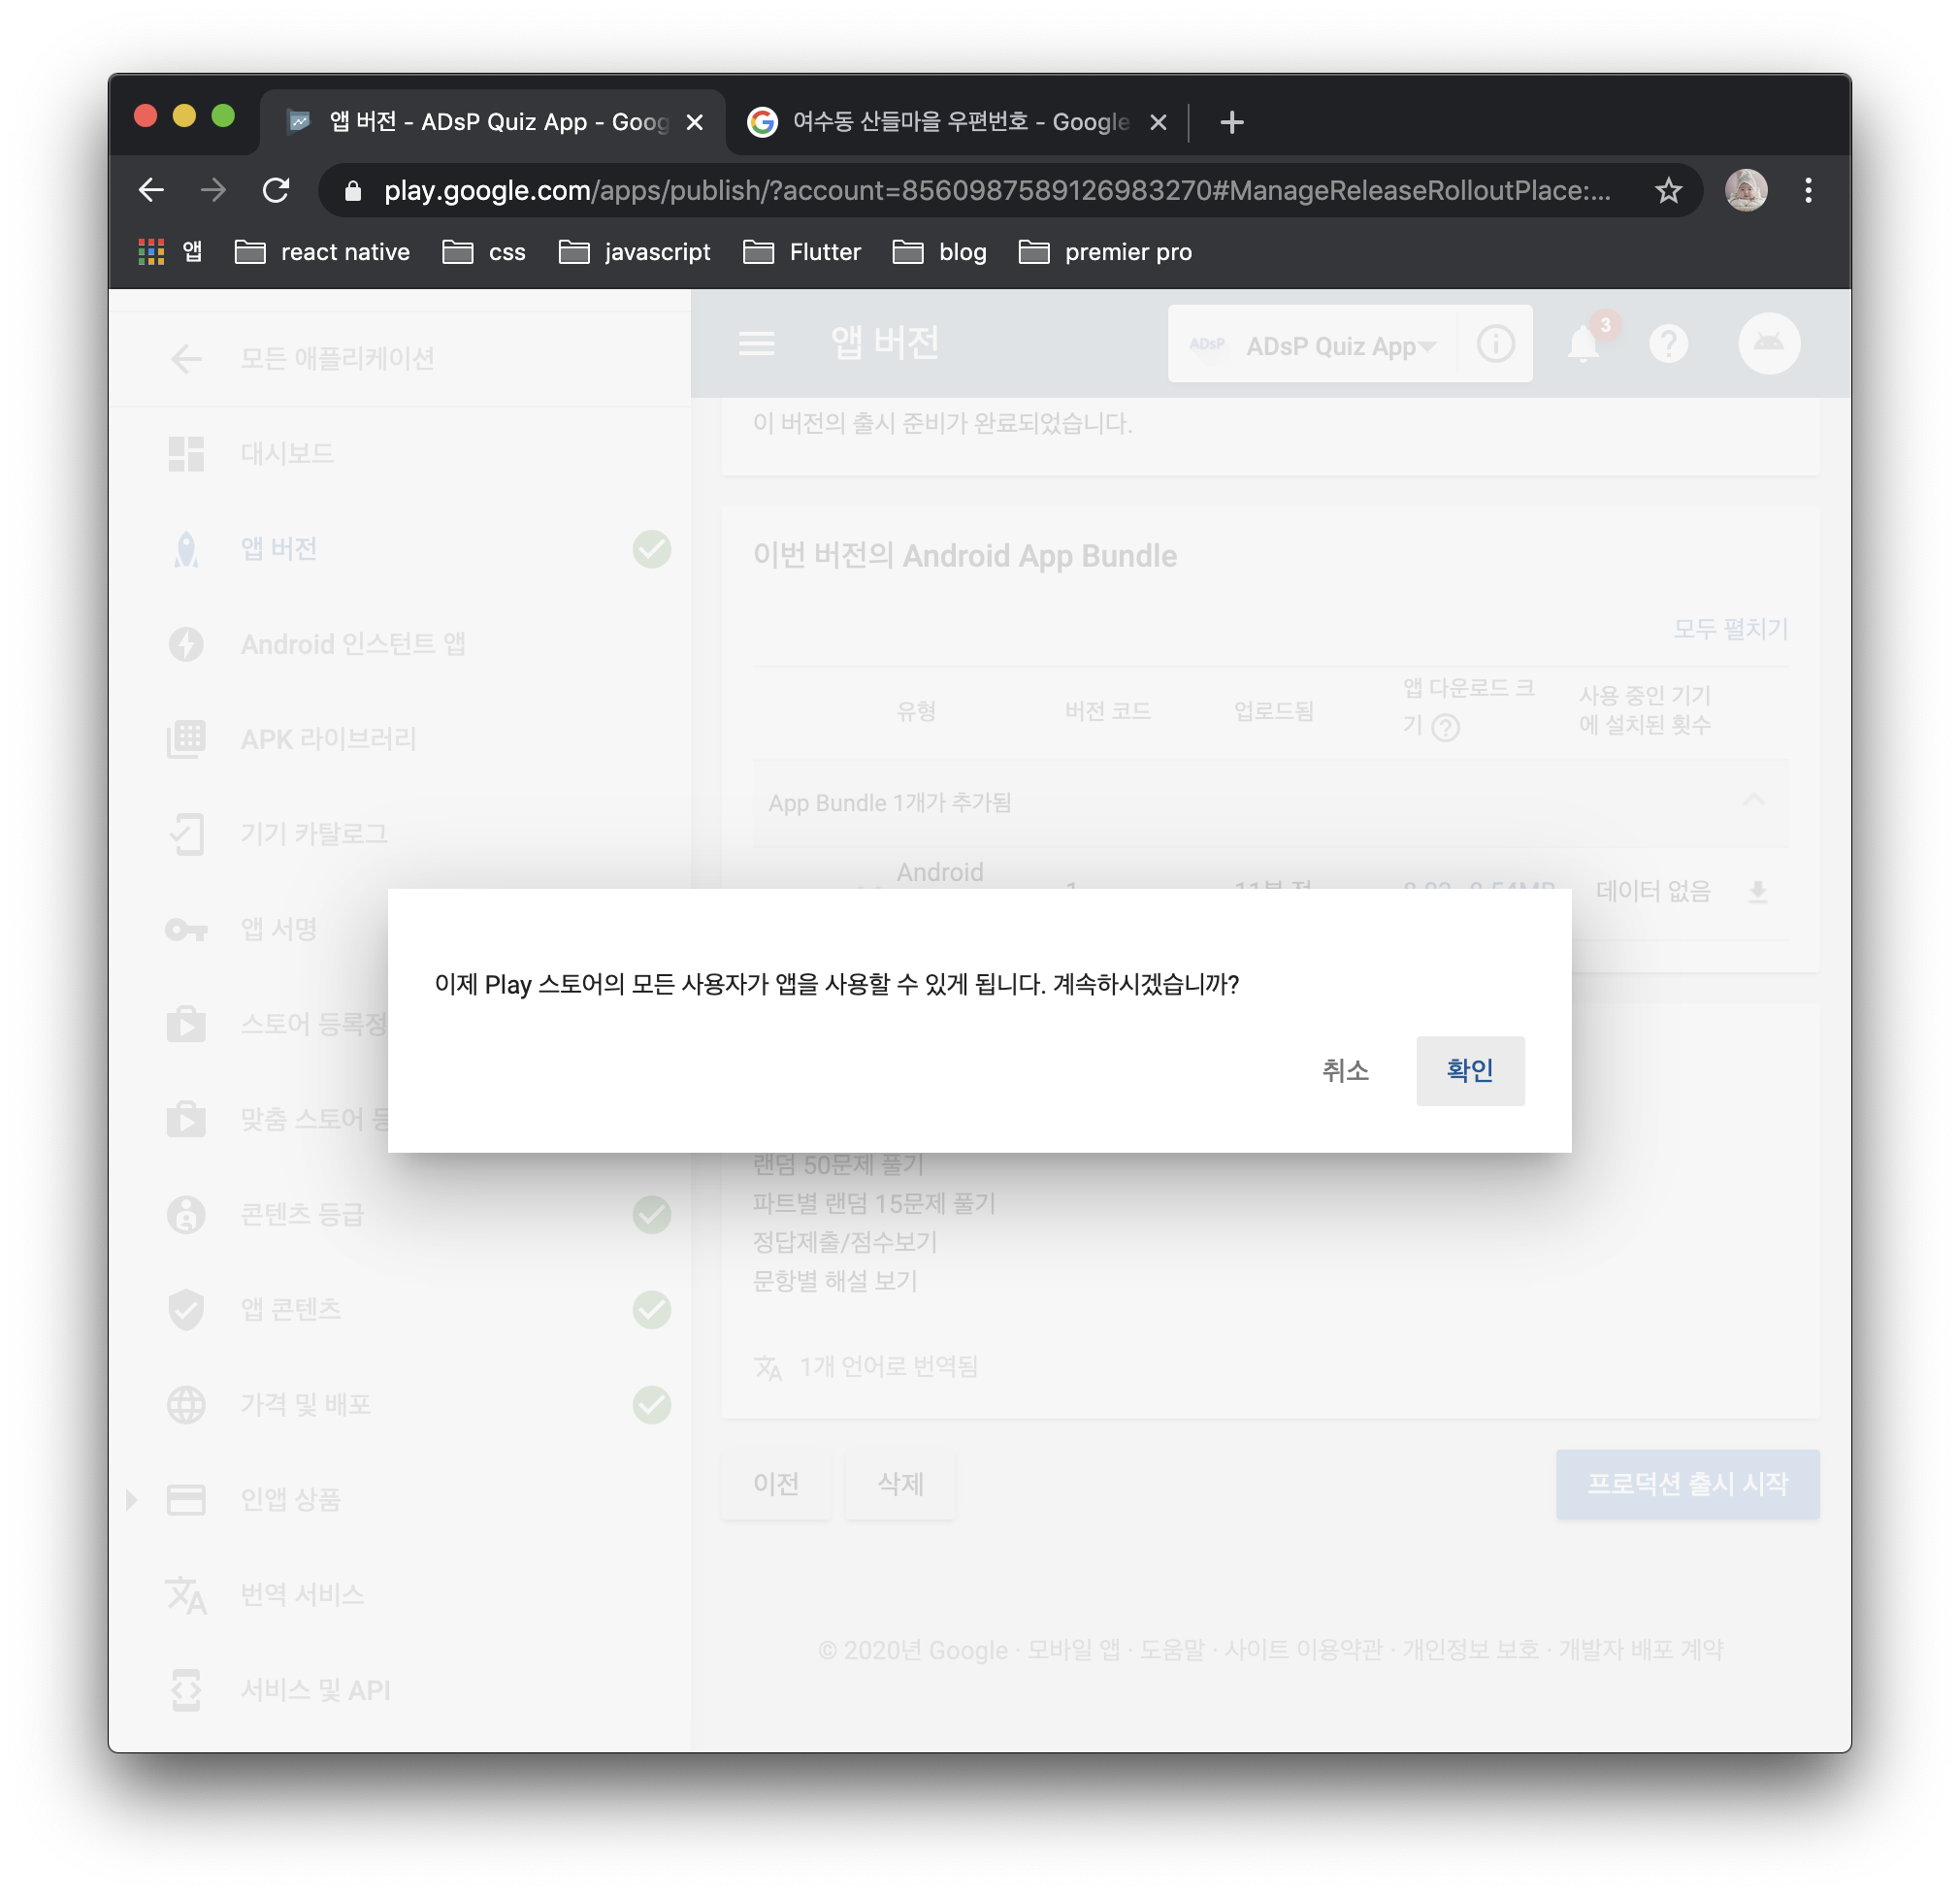
14. 동의
15. 앱 번들과 APK 등록하자
- 먼저 앱 번들은 추가했는데 APK는 뭔가.. 버전이 다르게 여러개 파일이 존재해서 그냥 앱 번들로만 검토 제출해보자.

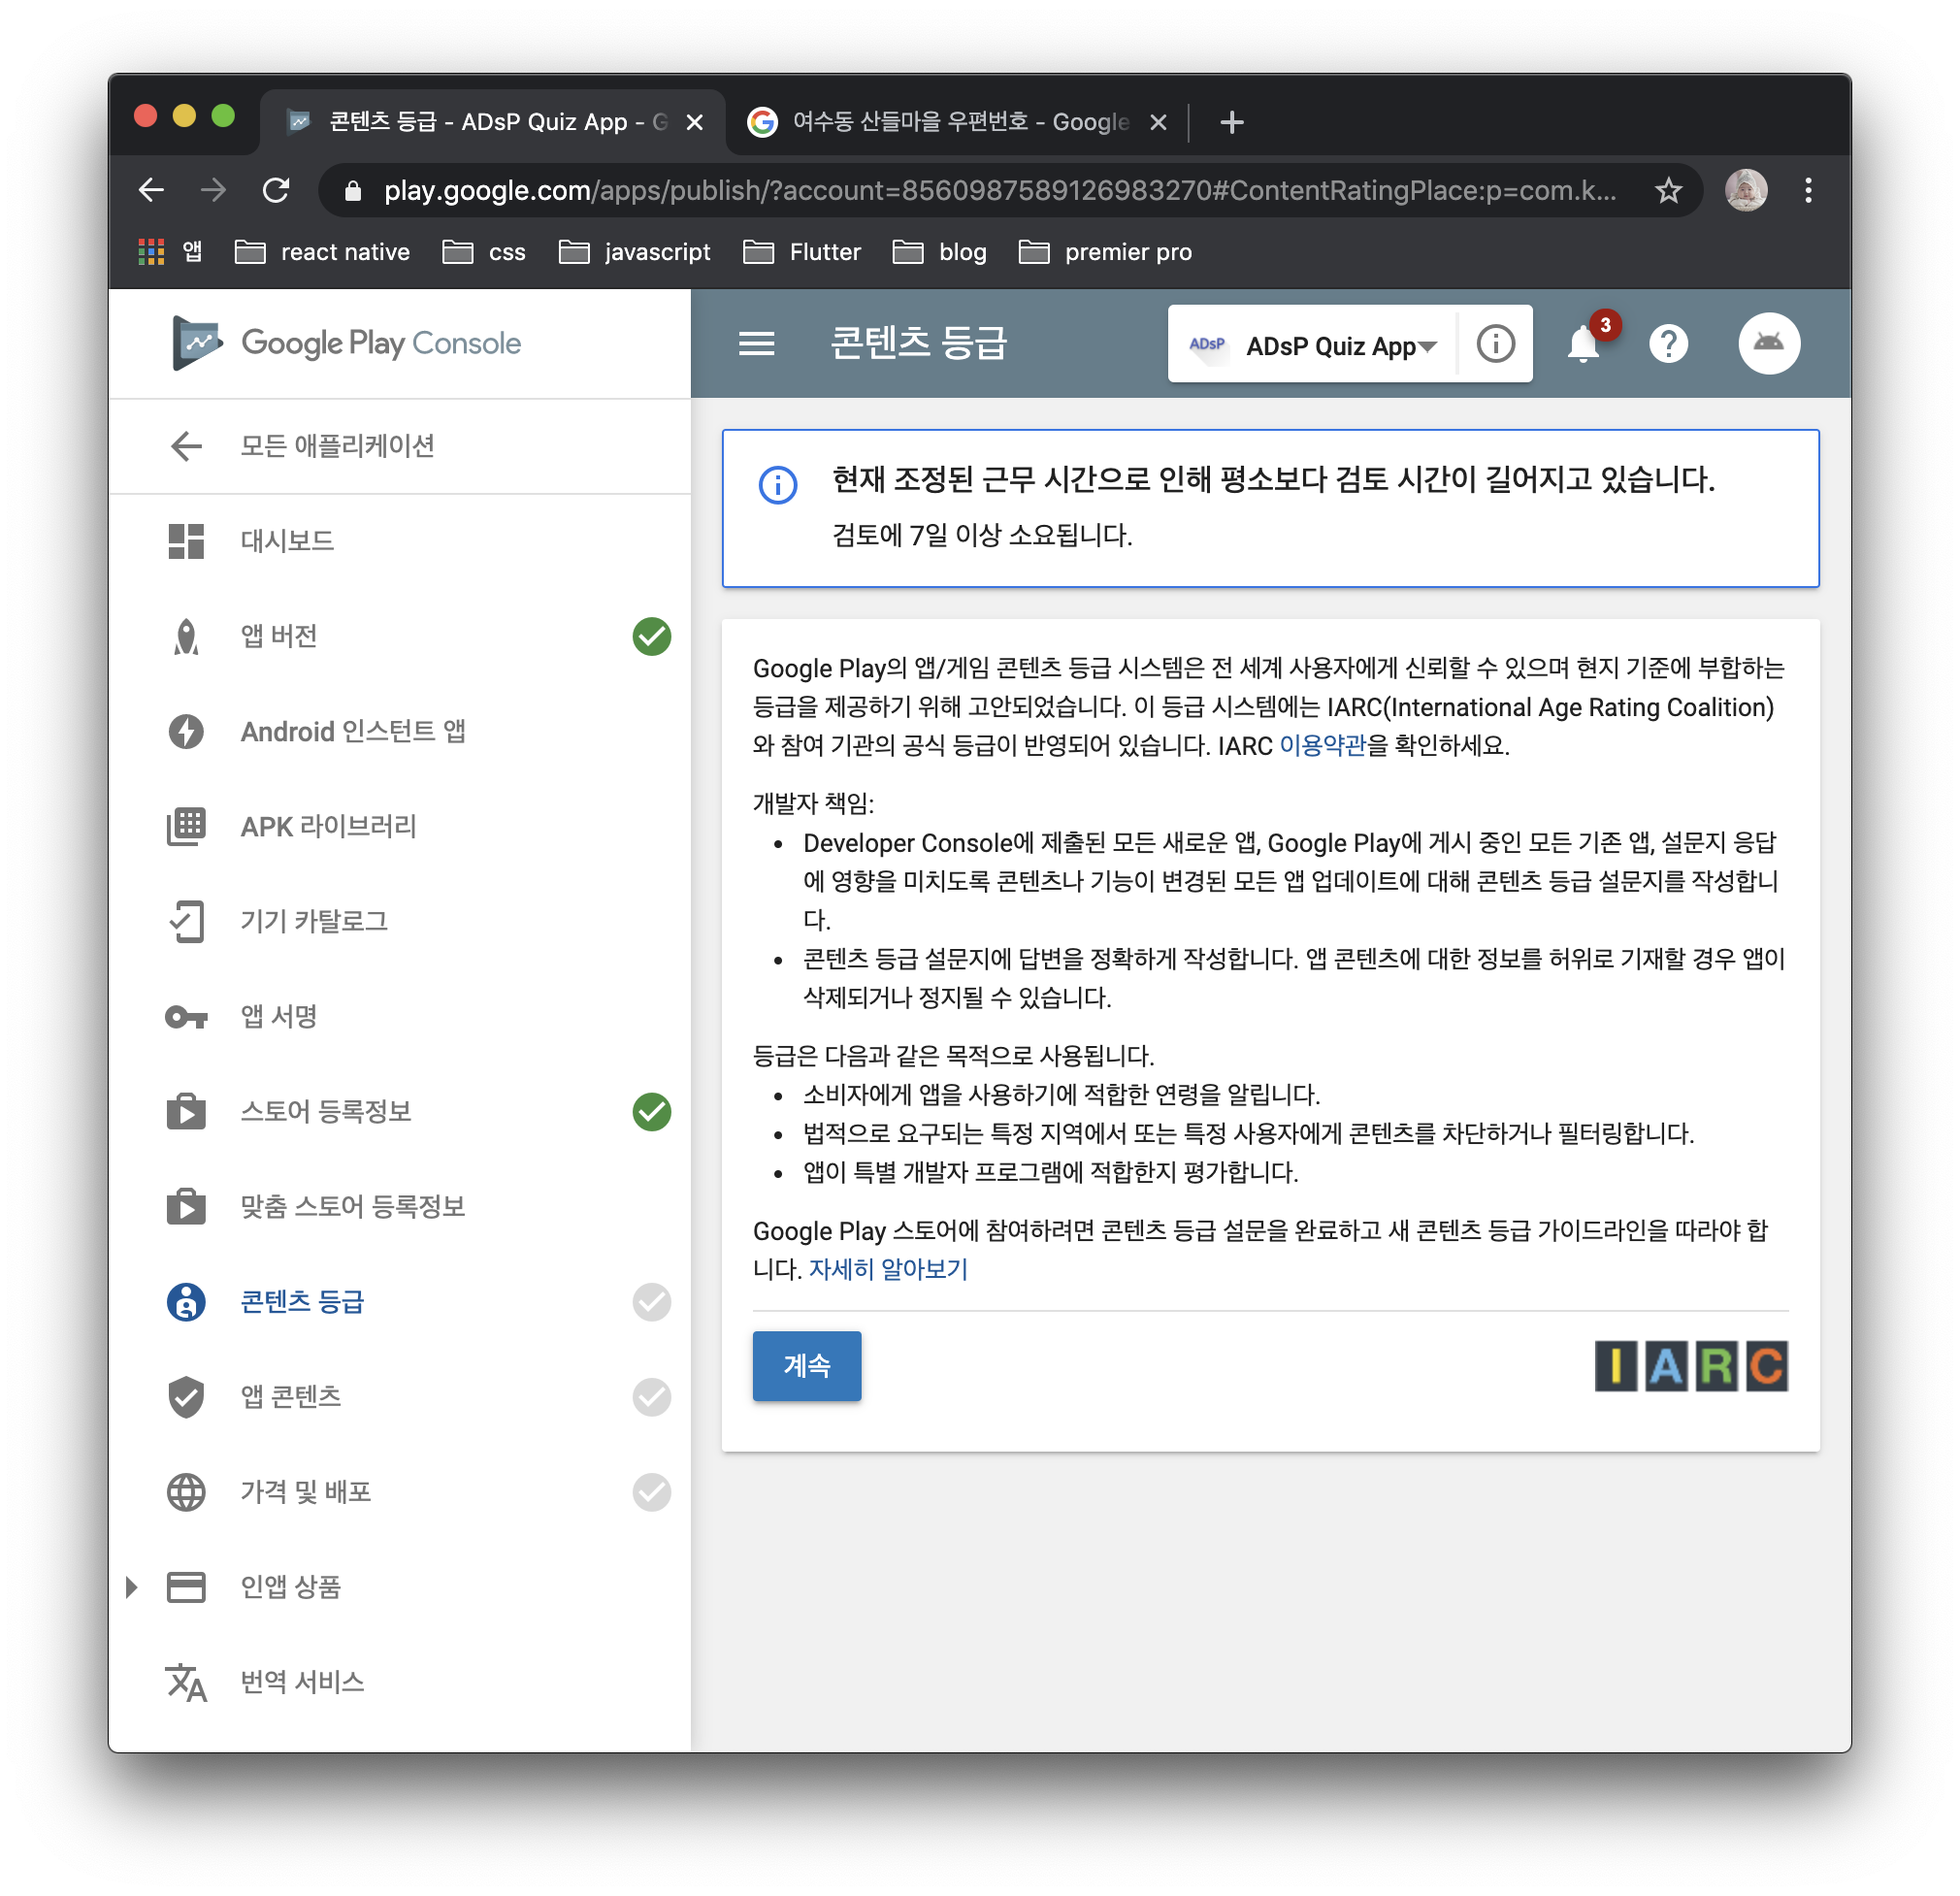
16. 앱 버전 저장 이후 콘텐츠 등급, 앱 콘텐츠, 가격 및 배포 정보도 입력해주자
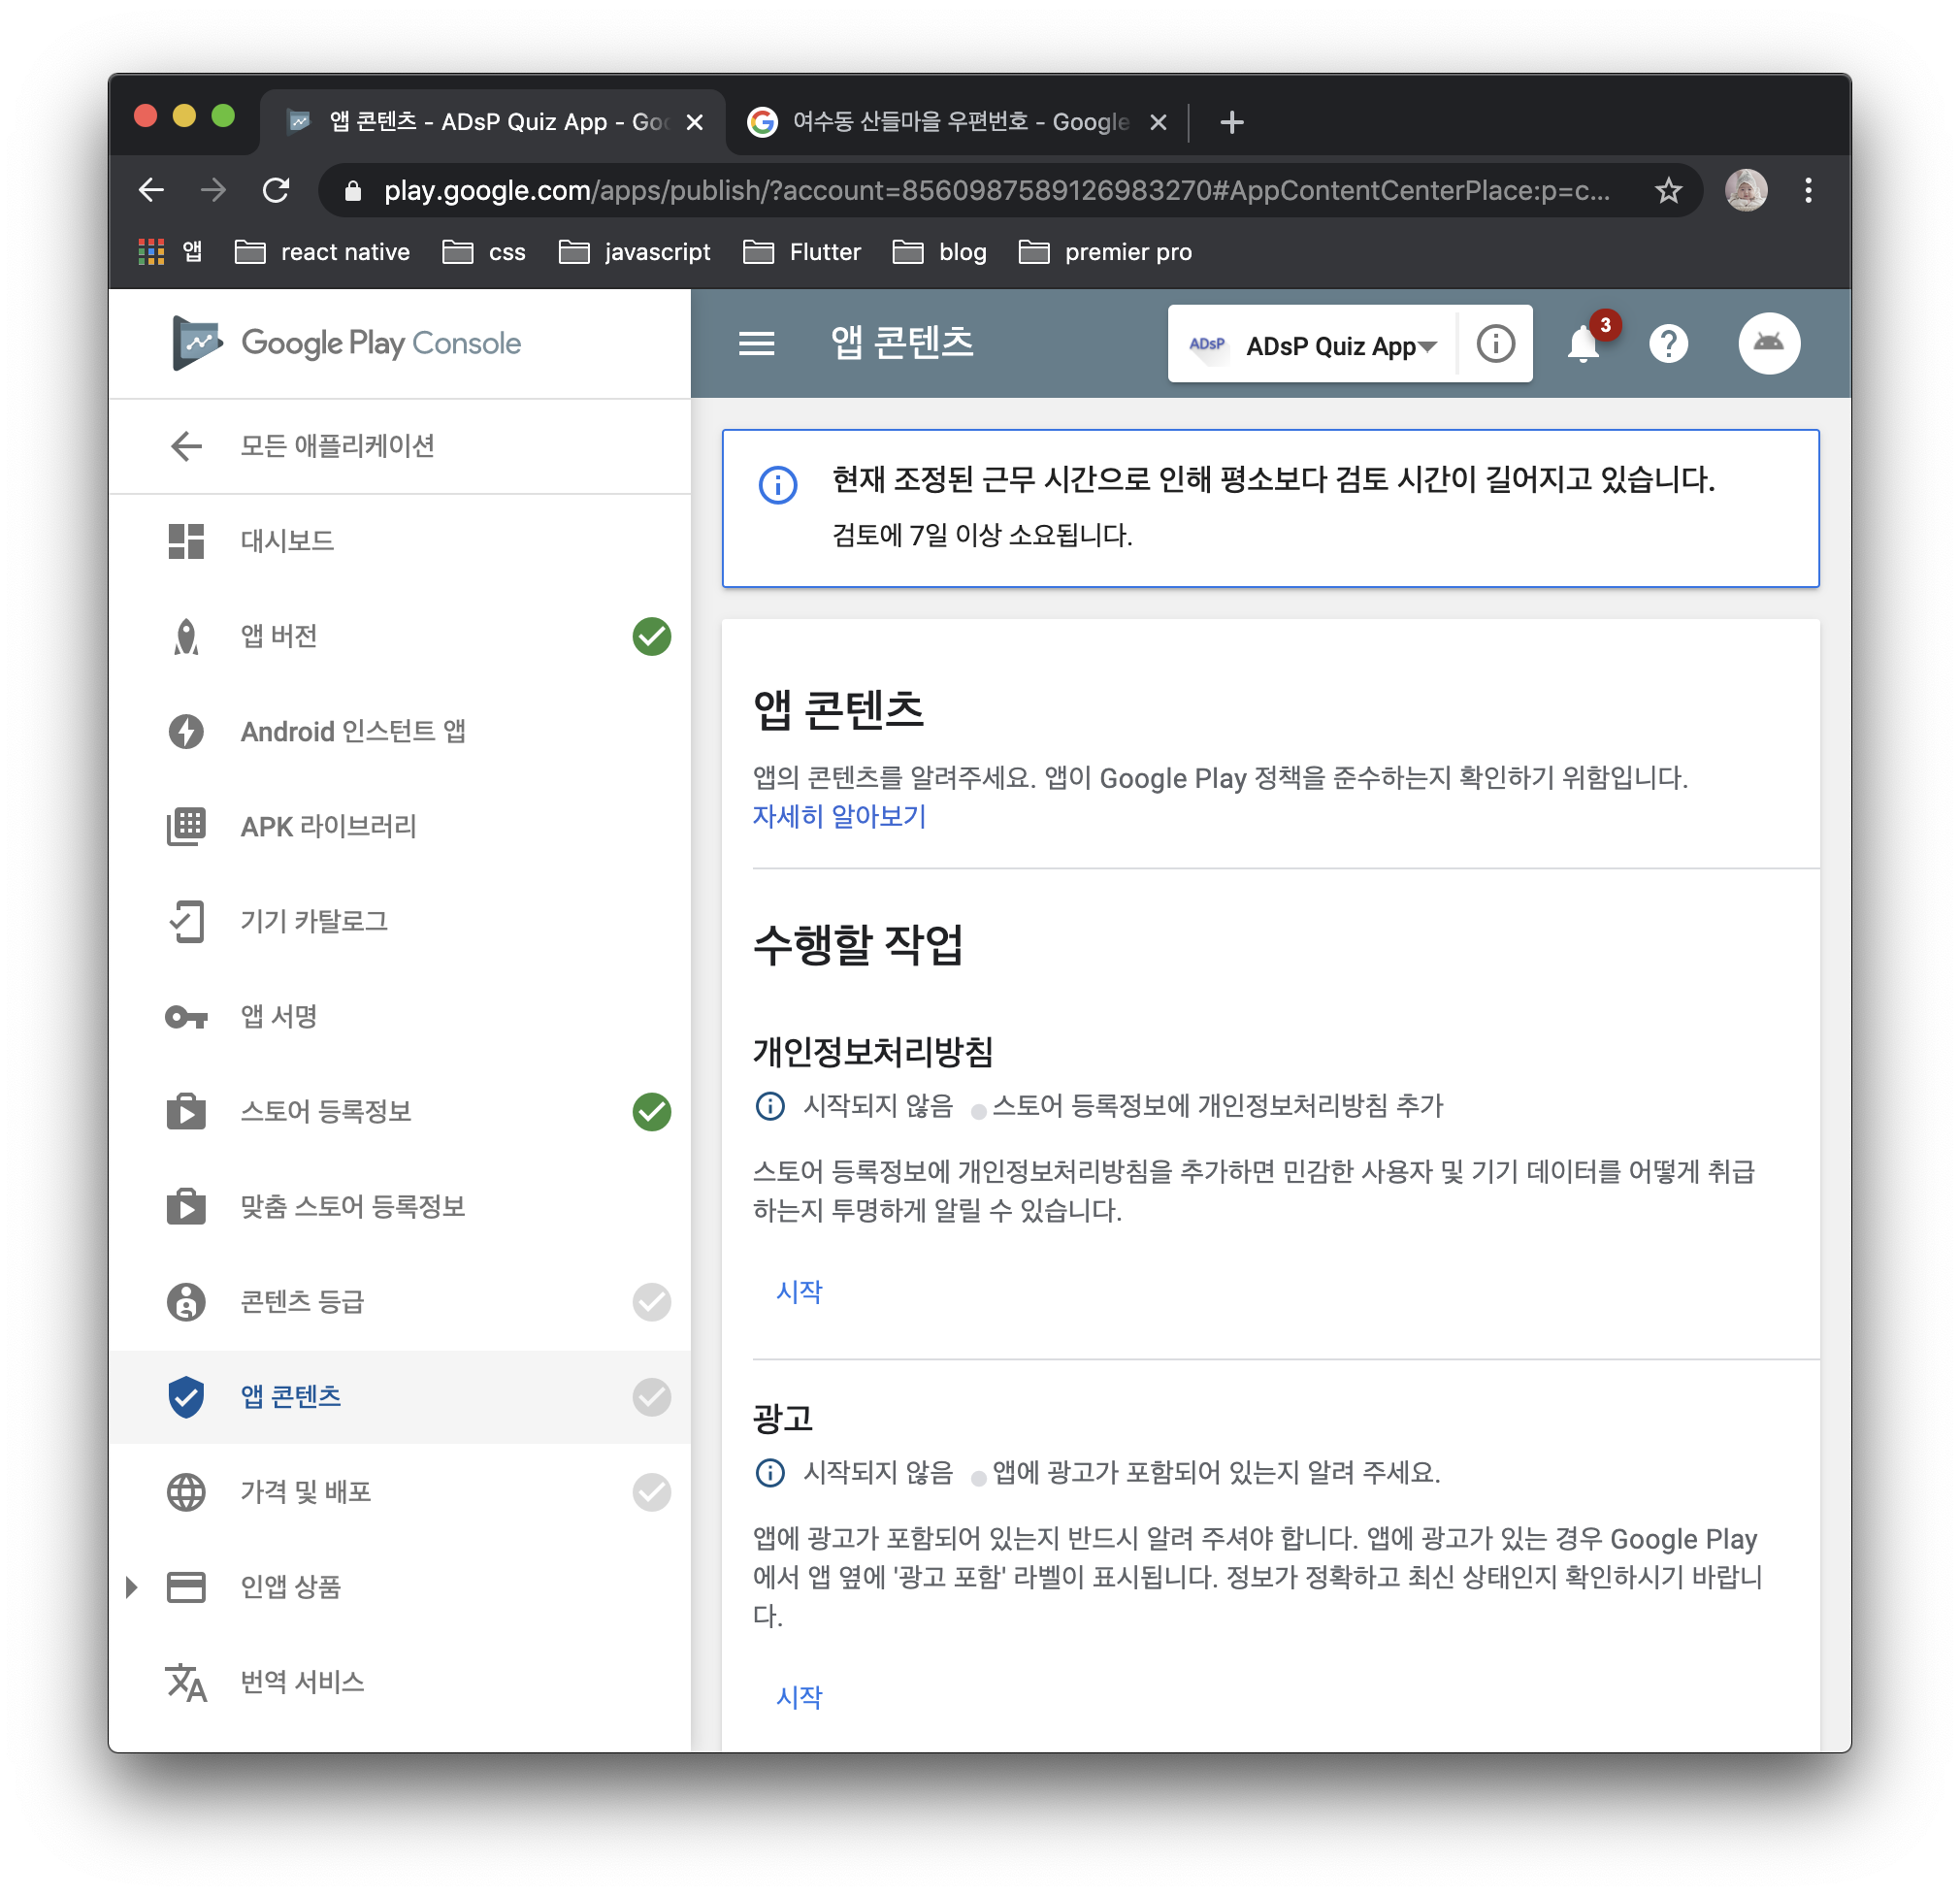


17. 자잘하게 이것저것 막 체크하고 지지고 볶았더니 드디어 ... 프로덕션 출시 시작버튼이 활성화되었다 ㅎㅎ
이제 자러 가야지 ㅜㅜ


댓글