반응형
오늘의 목표
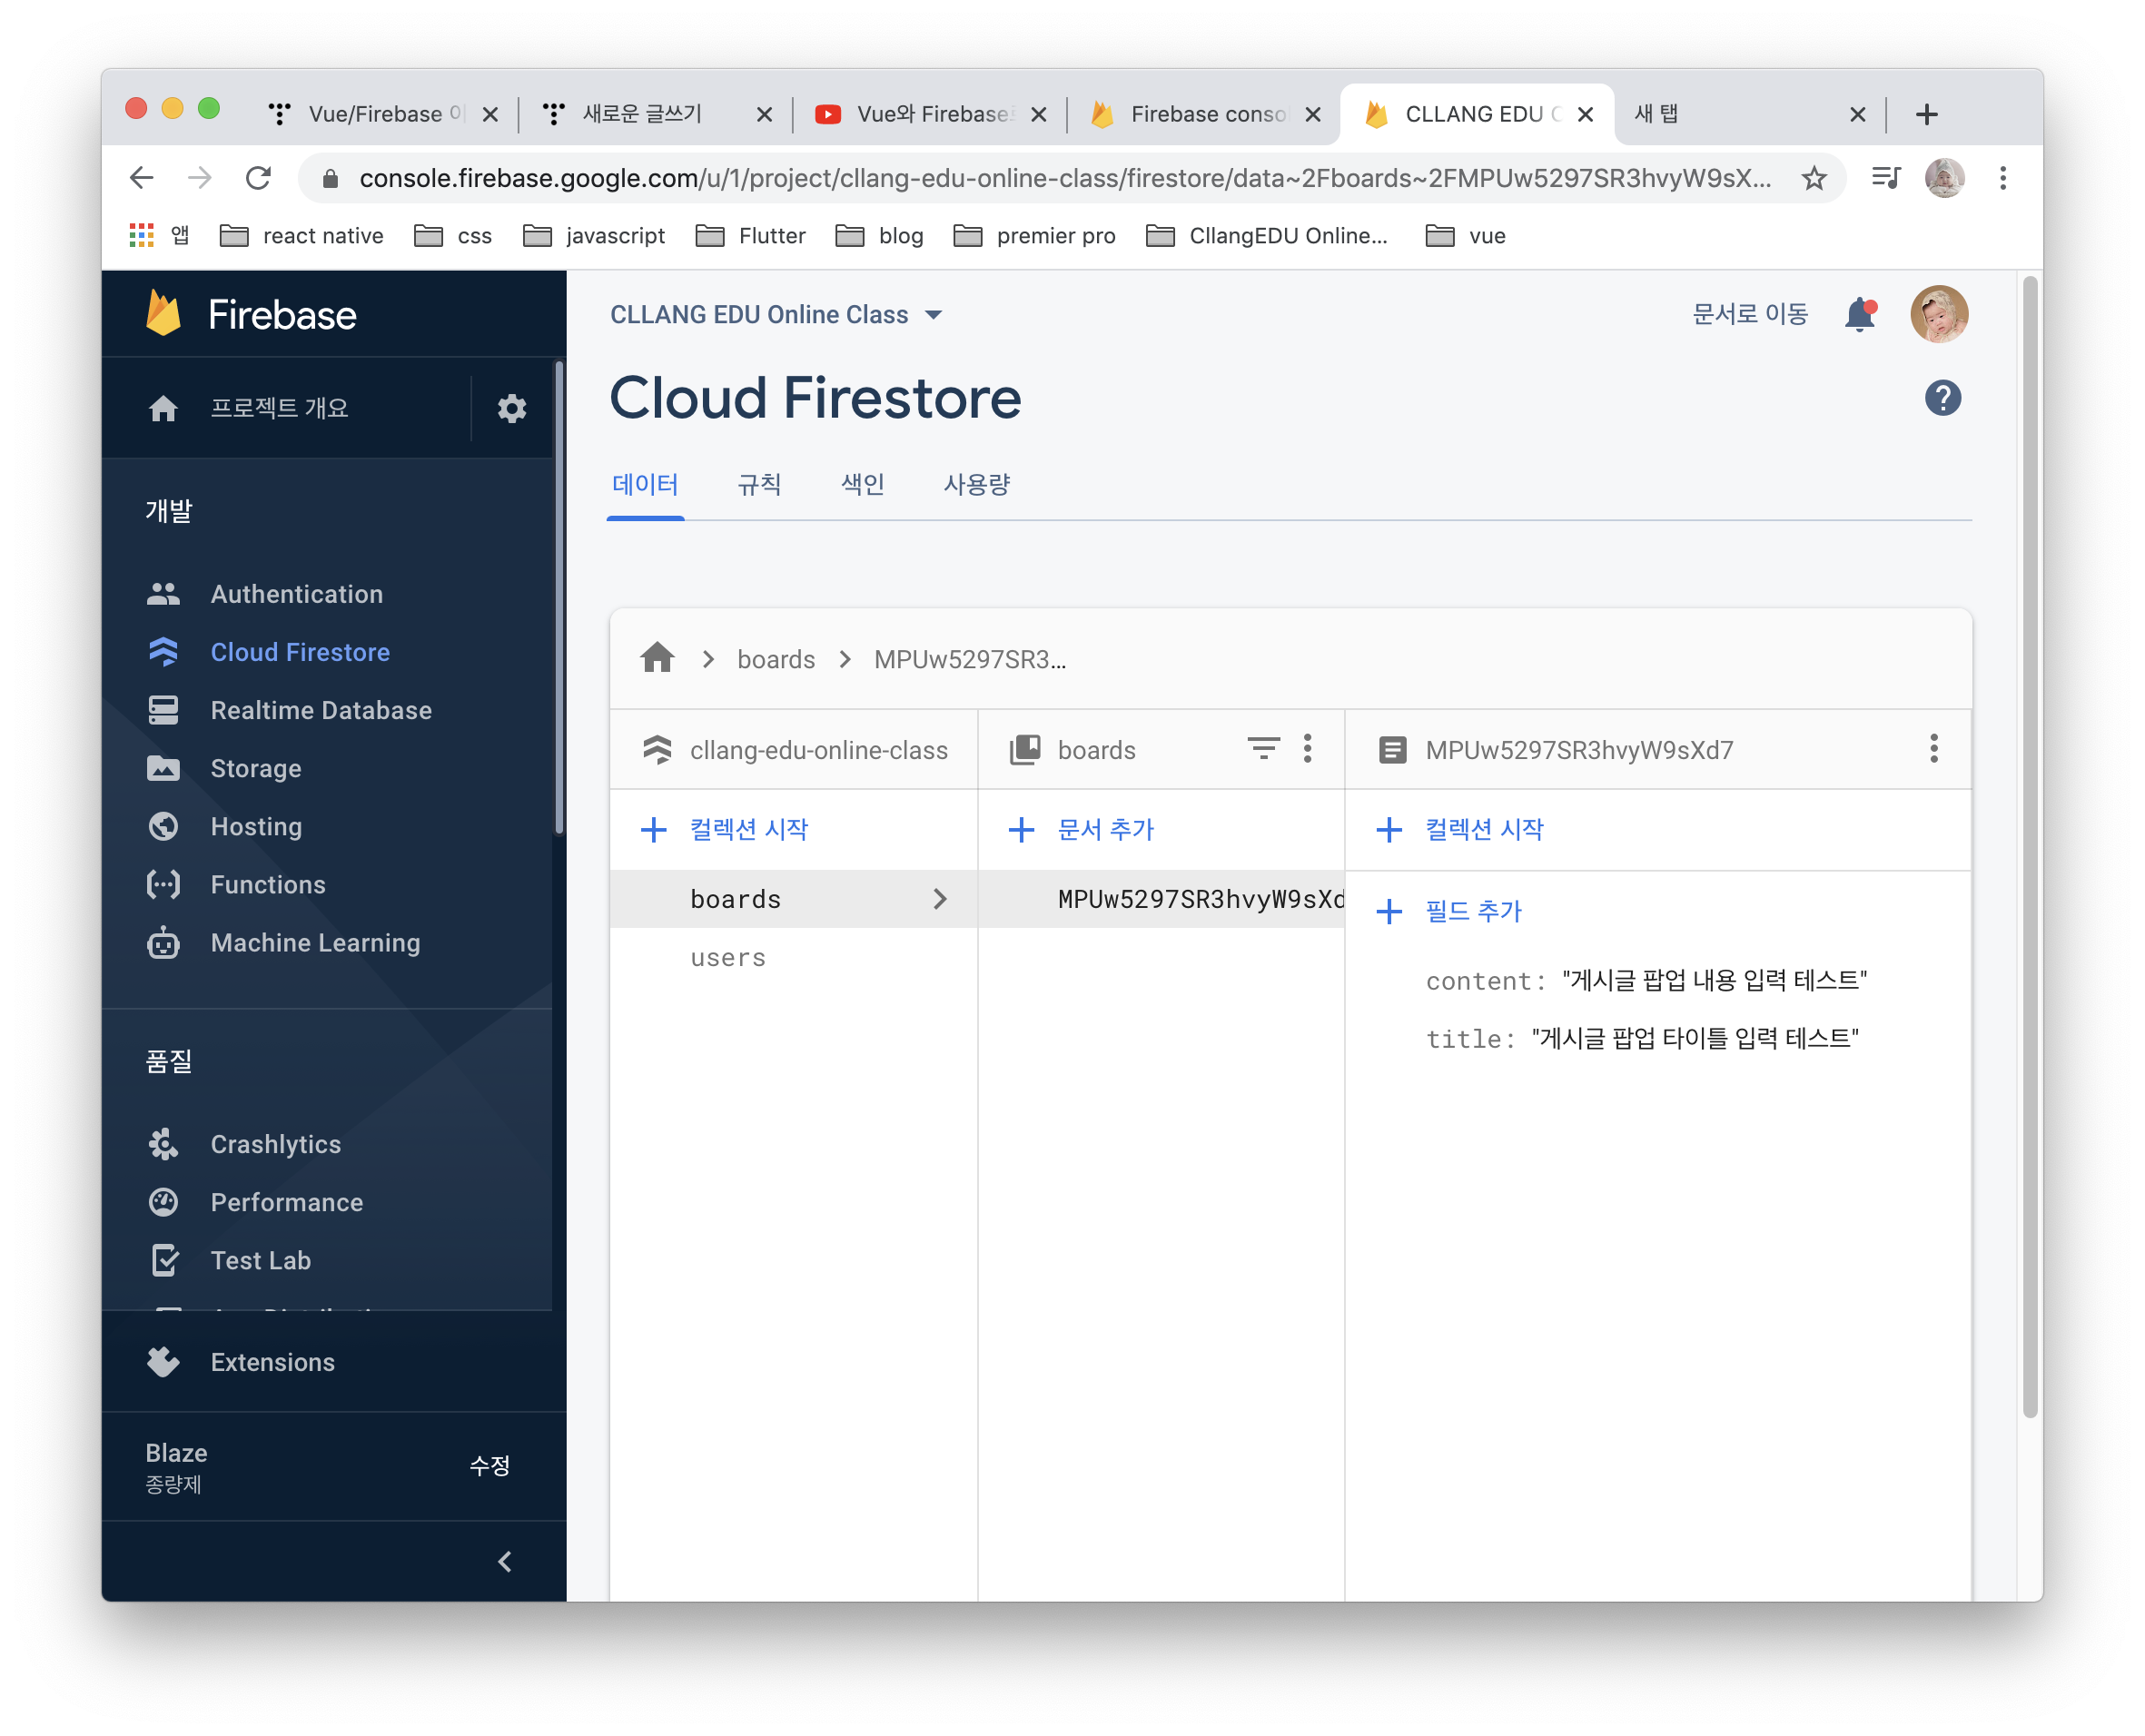
Firebase firestore에 게시판 내용을 저장(Create)/조회(Read)/수정(Update)/삭제(Delete) 해보자.
#1. Board 페이지 라우터 설정하기 (메뉴에서 눌렀을 때 이동할 수 있도록)
#2. 글쓰기를 위한 다이얼로그 띄우기
#3. 버튼 클릭시 Firestore에 동작하도록 구현하기
#4. ㅁㅁㅁ
#1. Board 페이지 라우터 설정하기 (메뉴에서 눌렀을 때 이동할 수 있도록)
- router/index.js 에 board 경로를 추가하자

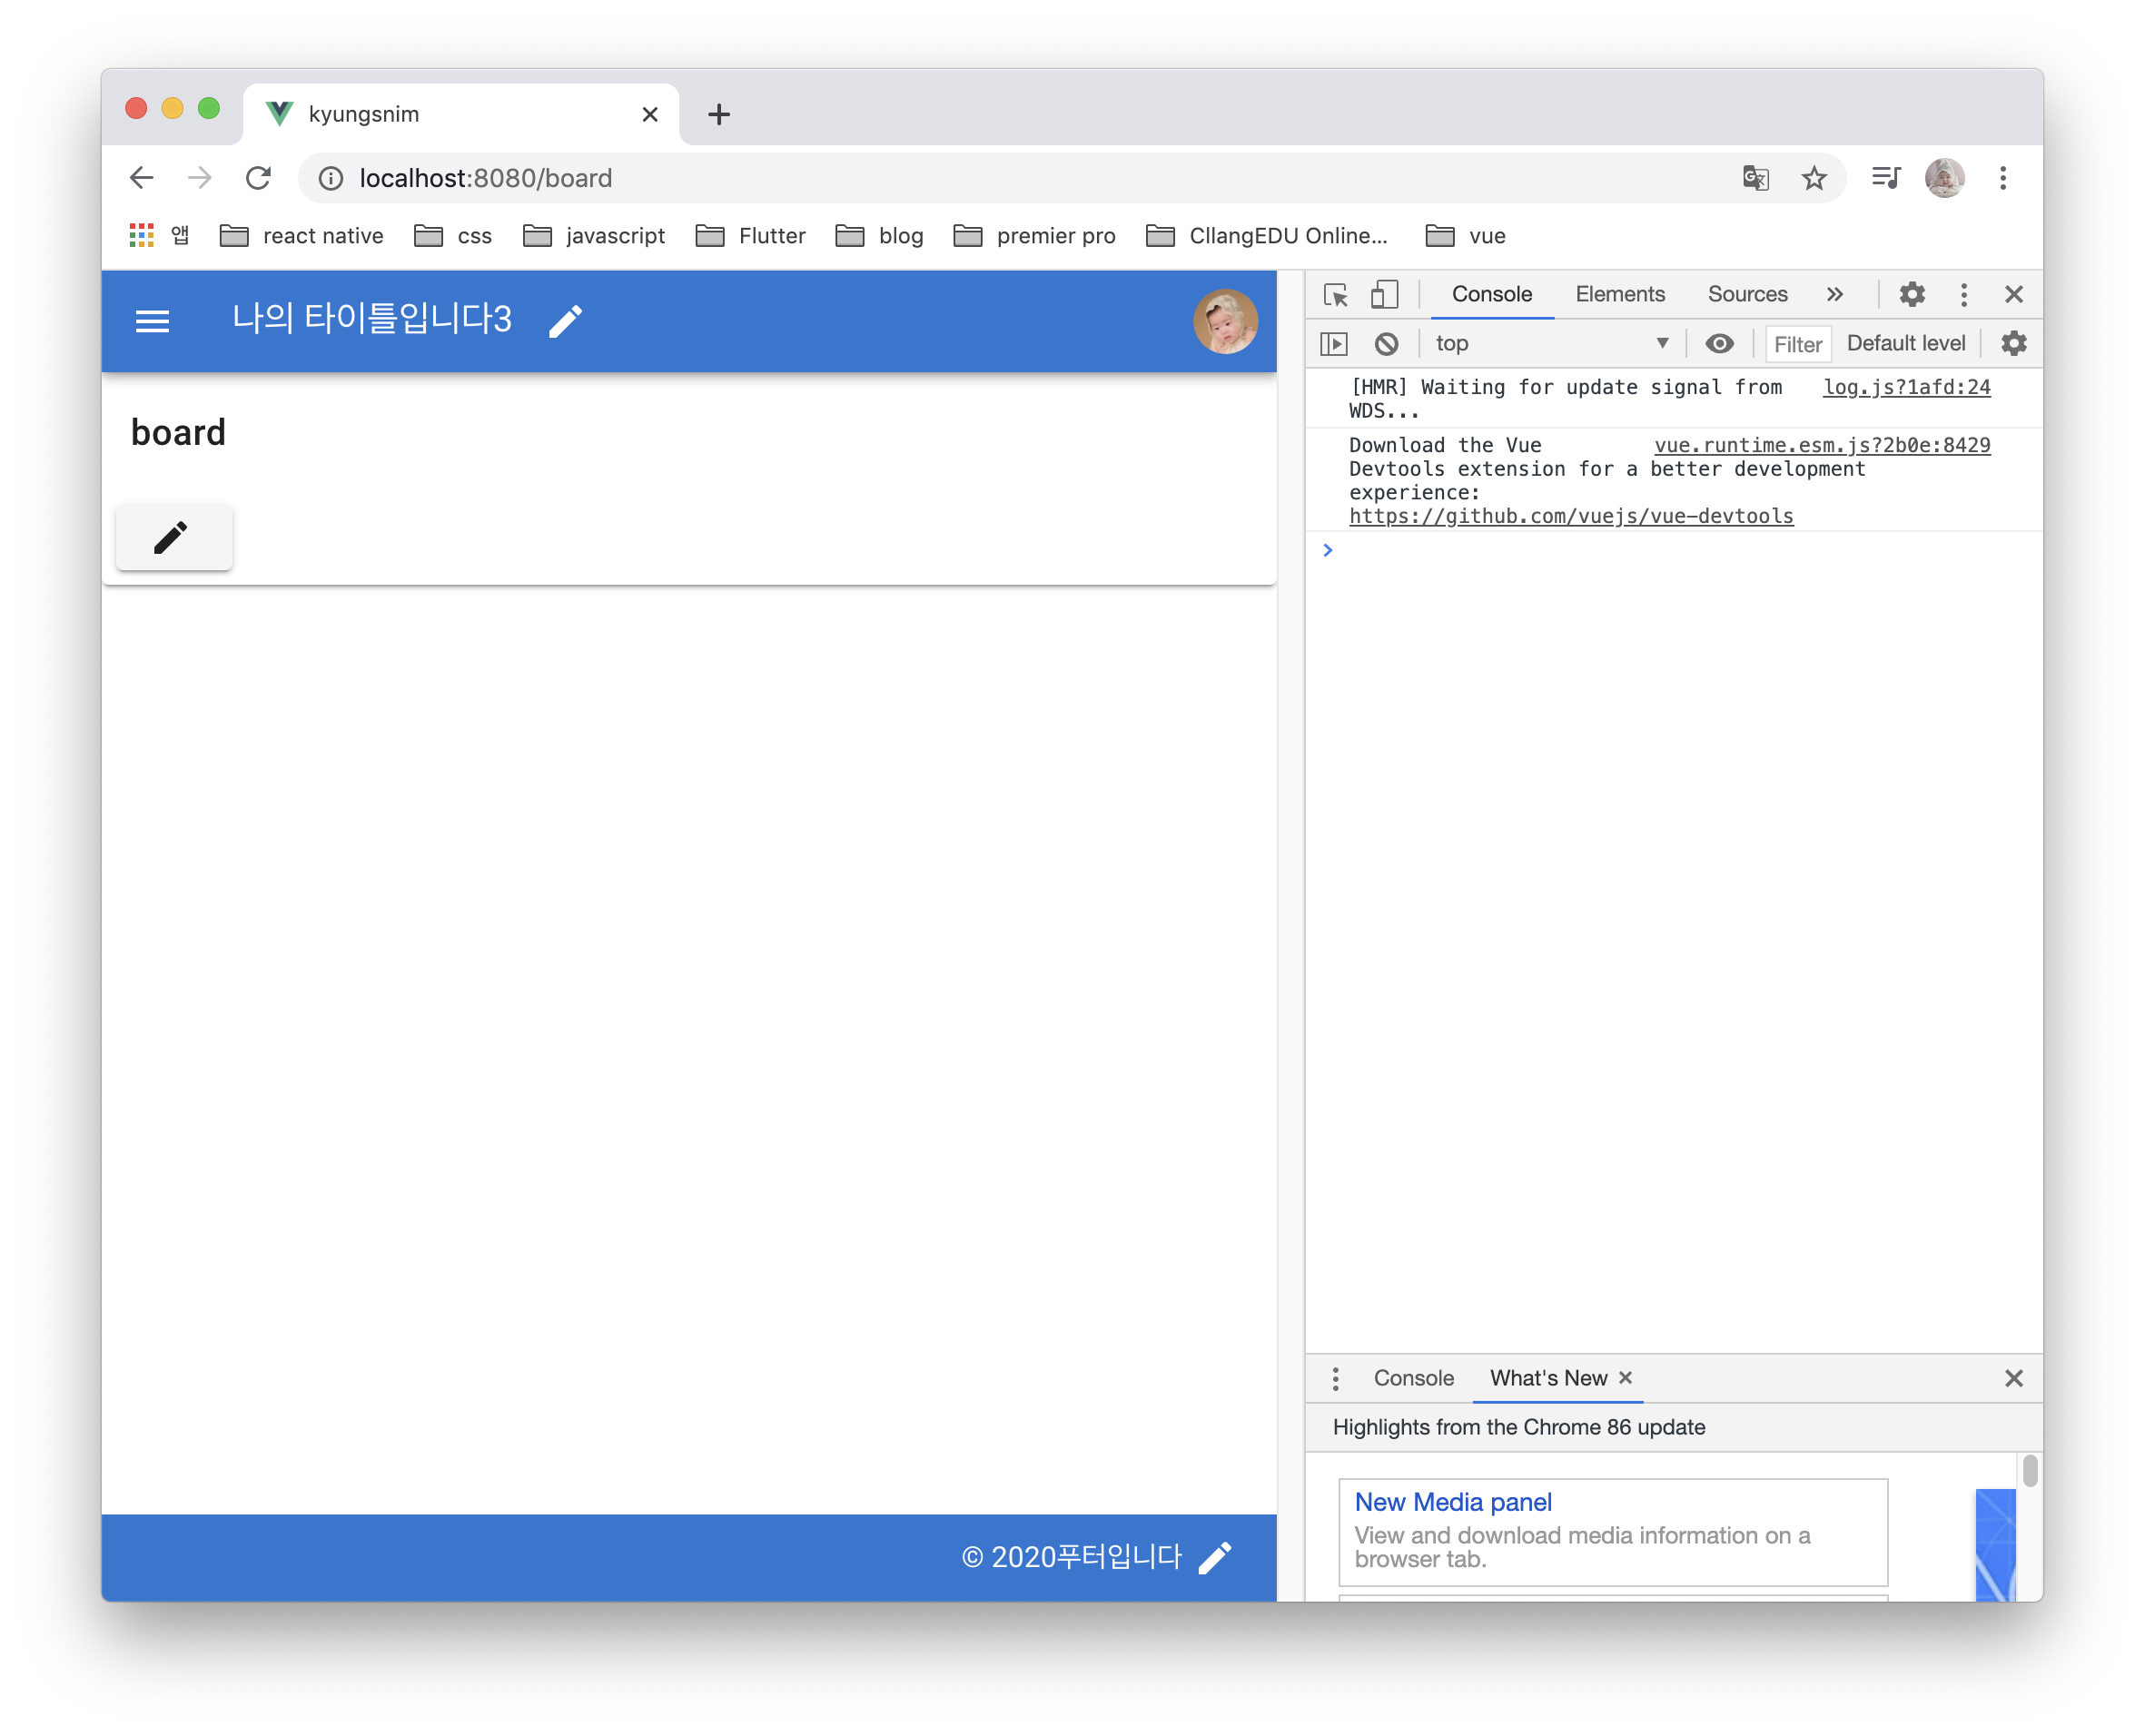
- 메뉴에 추가된것 확인

#2. 글쓰기를 위한 다이얼로그 띄우기
- 먼저 저장기능을 해보도록 글쓰기를 누르면 다이얼로그가 뜨고 title과 content를 입력 후 저장누르면
firestore에 저장되도록 구현해보자.
<template>
  <v-card>
    <v-card-title>board</v-card-title>
    <v-card-actions>
      <v-btn @click="openDialog"><v-icon left>mdi-pencil</v-icon></v-btn>
    </v-card-actions>
    <v-dialog max-width="500" v-model="dialog">
      <v-card>
        <v-form>
          <v-card-text>
            <v-text-field v-model="form.title"></v-text-field>
            <v-text-field v-model="form.content"></v-text-field>
          </v-card-text>
          <v-card-actions>
            <v-spacer/>
            <v-btn @click="save">save</v-btn>
          </v-card-actions>
        </v-form>
      </v-card>
    </v-dialog>
  </v-card>
</template>
<script>
export default {
  data () {
    return {
      items: [],
      form: {
        title: '',
        content: ''
      },
      dialog: false
    }
  },
  methods: {
    openDialog () {
      this.dialog = true
    },
    save () {
      this.$firebase.firestore().collection('boards').add(this.form)
      this.dialog = false
    }
  }
}
</script>

- title과 content를 입력 후 SAVE 버튼을 눌러보자


#3. 버튼 클릭시 Firestore에 동작하도록 구현하기
- 조회 (Read)
- read 버튼을 추가하고 함수도 추가해보자.
    async read () {
      const sn = await this.$firebase.firestore().collection('boards').get()
      if (!sn.empty) {
        this.items = sn.docs.map(v => {
          const item = v.data()
          return {
            id: v.id, // id는 data에 없고 별도로 저장되어 있다.
            title: item.title,
            content: item.content
          }
        })
        console.log(this.items)
      }
    }
- 게시판 식으로 보이도록 구현해보자. (Vuetify의 v-data-table 이용)
Data table component
The data table component is used for displaying tabular data in a way that is easy for users to scan. It includes so...
vuetifyjs.com
- 전체 소스는 아래와 같다.
<template>
  <v-card>
    <v-card-title>board</v-card-title>
    <!-- 테이블 추가하기 시작 -->
    <v-data-table
      :headers="headers"
      :items="items"
    >
      <template v-slot:item.id="{ item }">
        <v-btn icon @click="openDialog(item)"><v-icon>mdi-pencil</v-icon></v-btn>
        <v-btn icon @click="remove(item)"><v-icon>mdi-delete</v-icon></v-btn>
      </template>
    </v-data-table>
    <!-- 테이블 추가하기 끝 -->
    <v-card-actions>
      <v-btn @click="read"><v-icon left>mdi-page-next</v-icon></v-btn>
      <v-btn @click="openDialog(null)"><v-icon left>mdi-pencil</v-icon></v-btn>
    </v-card-actions>
    <v-dialog max-width="500" v-model="dialog">
      <v-card>
        <v-form>
          <v-card-text>
            <v-text-field v-model="form.title"></v-text-field>
            <v-text-field v-model="form.content"></v-text-field>
          </v-card-text>
          <v-card-actions>
            <v-spacer/>
            <v-btn @click="update" v-if="selectedItem">save</v-btn>
            <v-btn @click="add" v-else>save</v-btn>
          </v-card-actions>
        </v-form>
      </v-card>
    </v-dialog>
  </v-card>
</template>
<script>
export default {
  data () {
    return {
      // 게시판 headers 정의해주기
      headers: [
        { value: 'title', text: '제목' },
        { value: 'content', text: '내용' },
        { value: 'id', text: 'id' }
      ],
      items: [],
      form: {
        title: '',
        content: ''
      },
      dialog: false,
      selectedItem: null
    }
  },
  created () {
    this.read() // 페이지 렌더링 전에 읽어오기
  },
  methods: {
    openDialog (item) {
      this.selectedItem = item
      this.dialog = true
      if (!item) { // 신규 글쓰기인 경우
        this.form.title = ''
        this.form.content = ''
      } else { // 수정 버튼을 클릭한 경우
        this.form.title = item.title
        this.form.content = item.content
      }
    },
    add () {
      this.$firebase.firestore().collection('boards').add(this.form)
      this.dialog = false
      this.read()
    },
    update () {
      this.$firebase.firestore().collection('boards').doc(this.selectedItem.id).update(this.form)
      this.dialog = false
      this.read()
    },
    async read () {
      const sn = await this.$firebase.firestore().collection('boards').get()
      if (!sn.empty) {
        this.items = sn.docs.map(v => {
          const item = v.data()
          return {
            id: v.id,
            title: item.title,
            content: item.content
          }
        })
      }
    },
    remove (item) {
      this.$firebase.firestore().collection('boards').doc(item.id).delete()
      this.dialog = false
      this.read()
    }
  }
}
</script>

※ 해당 내용은 아래의 사이트에서 강의를 보며 실습한 내용입니다.
memi.dev
개발에 대한 모든 것을 다룹니다
memi.dev
반응형


댓글